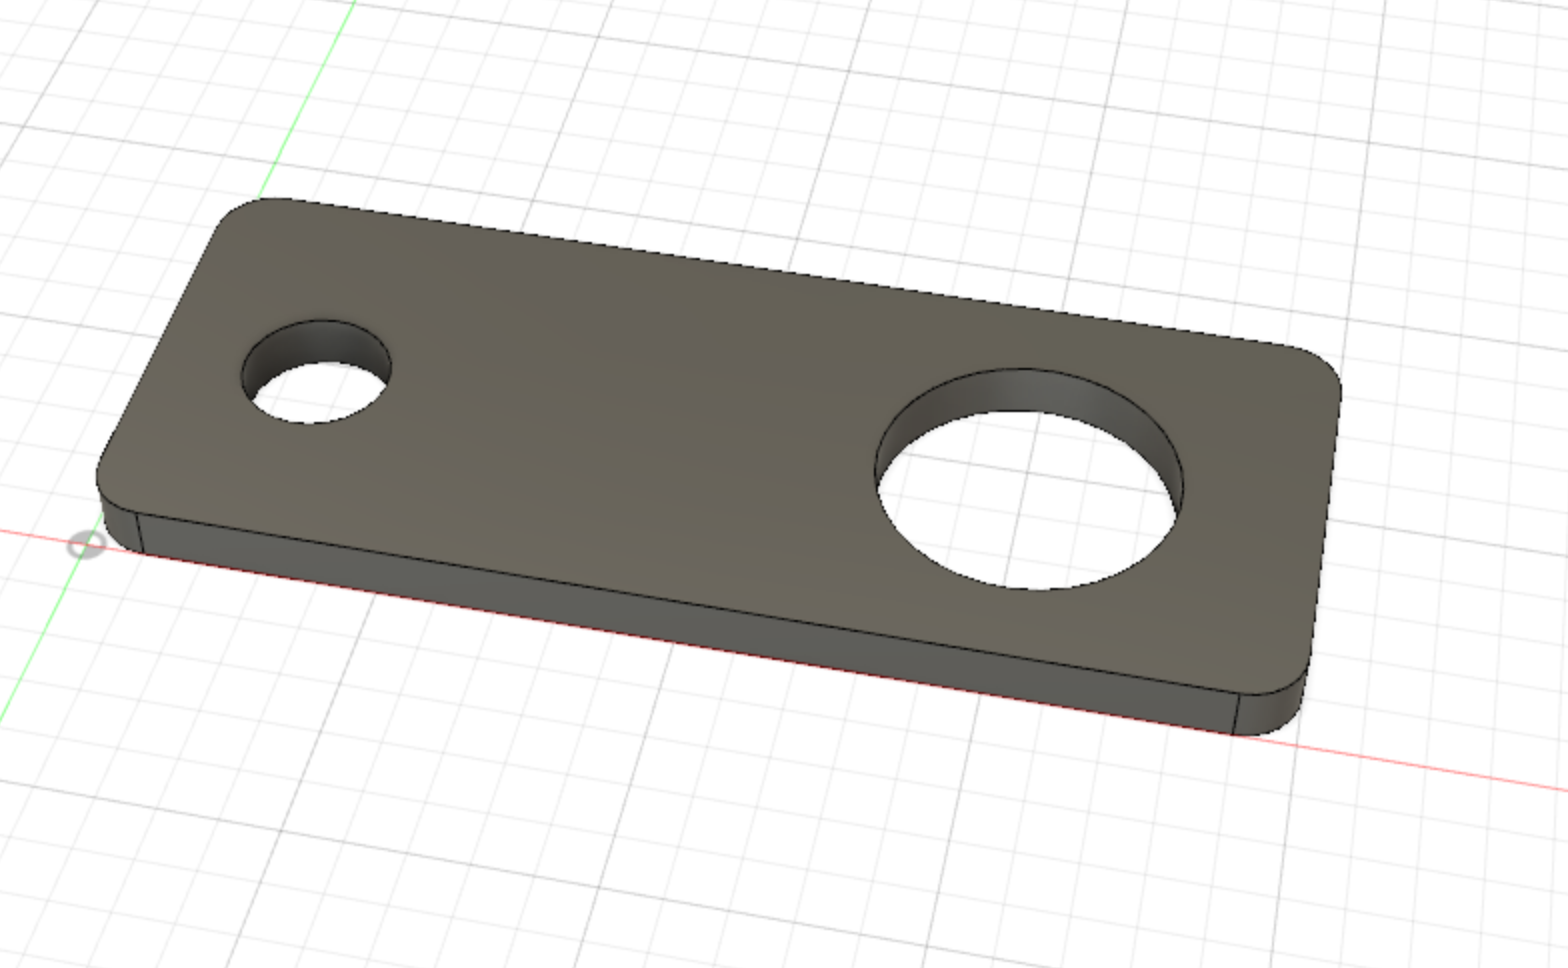
I printed a small keyholder that could be hung on a hook on a wall. It worked effectively, as can be seen in the second picture that I included. Although this was a simple creation, it was cool to use a 3d printer for the first time.
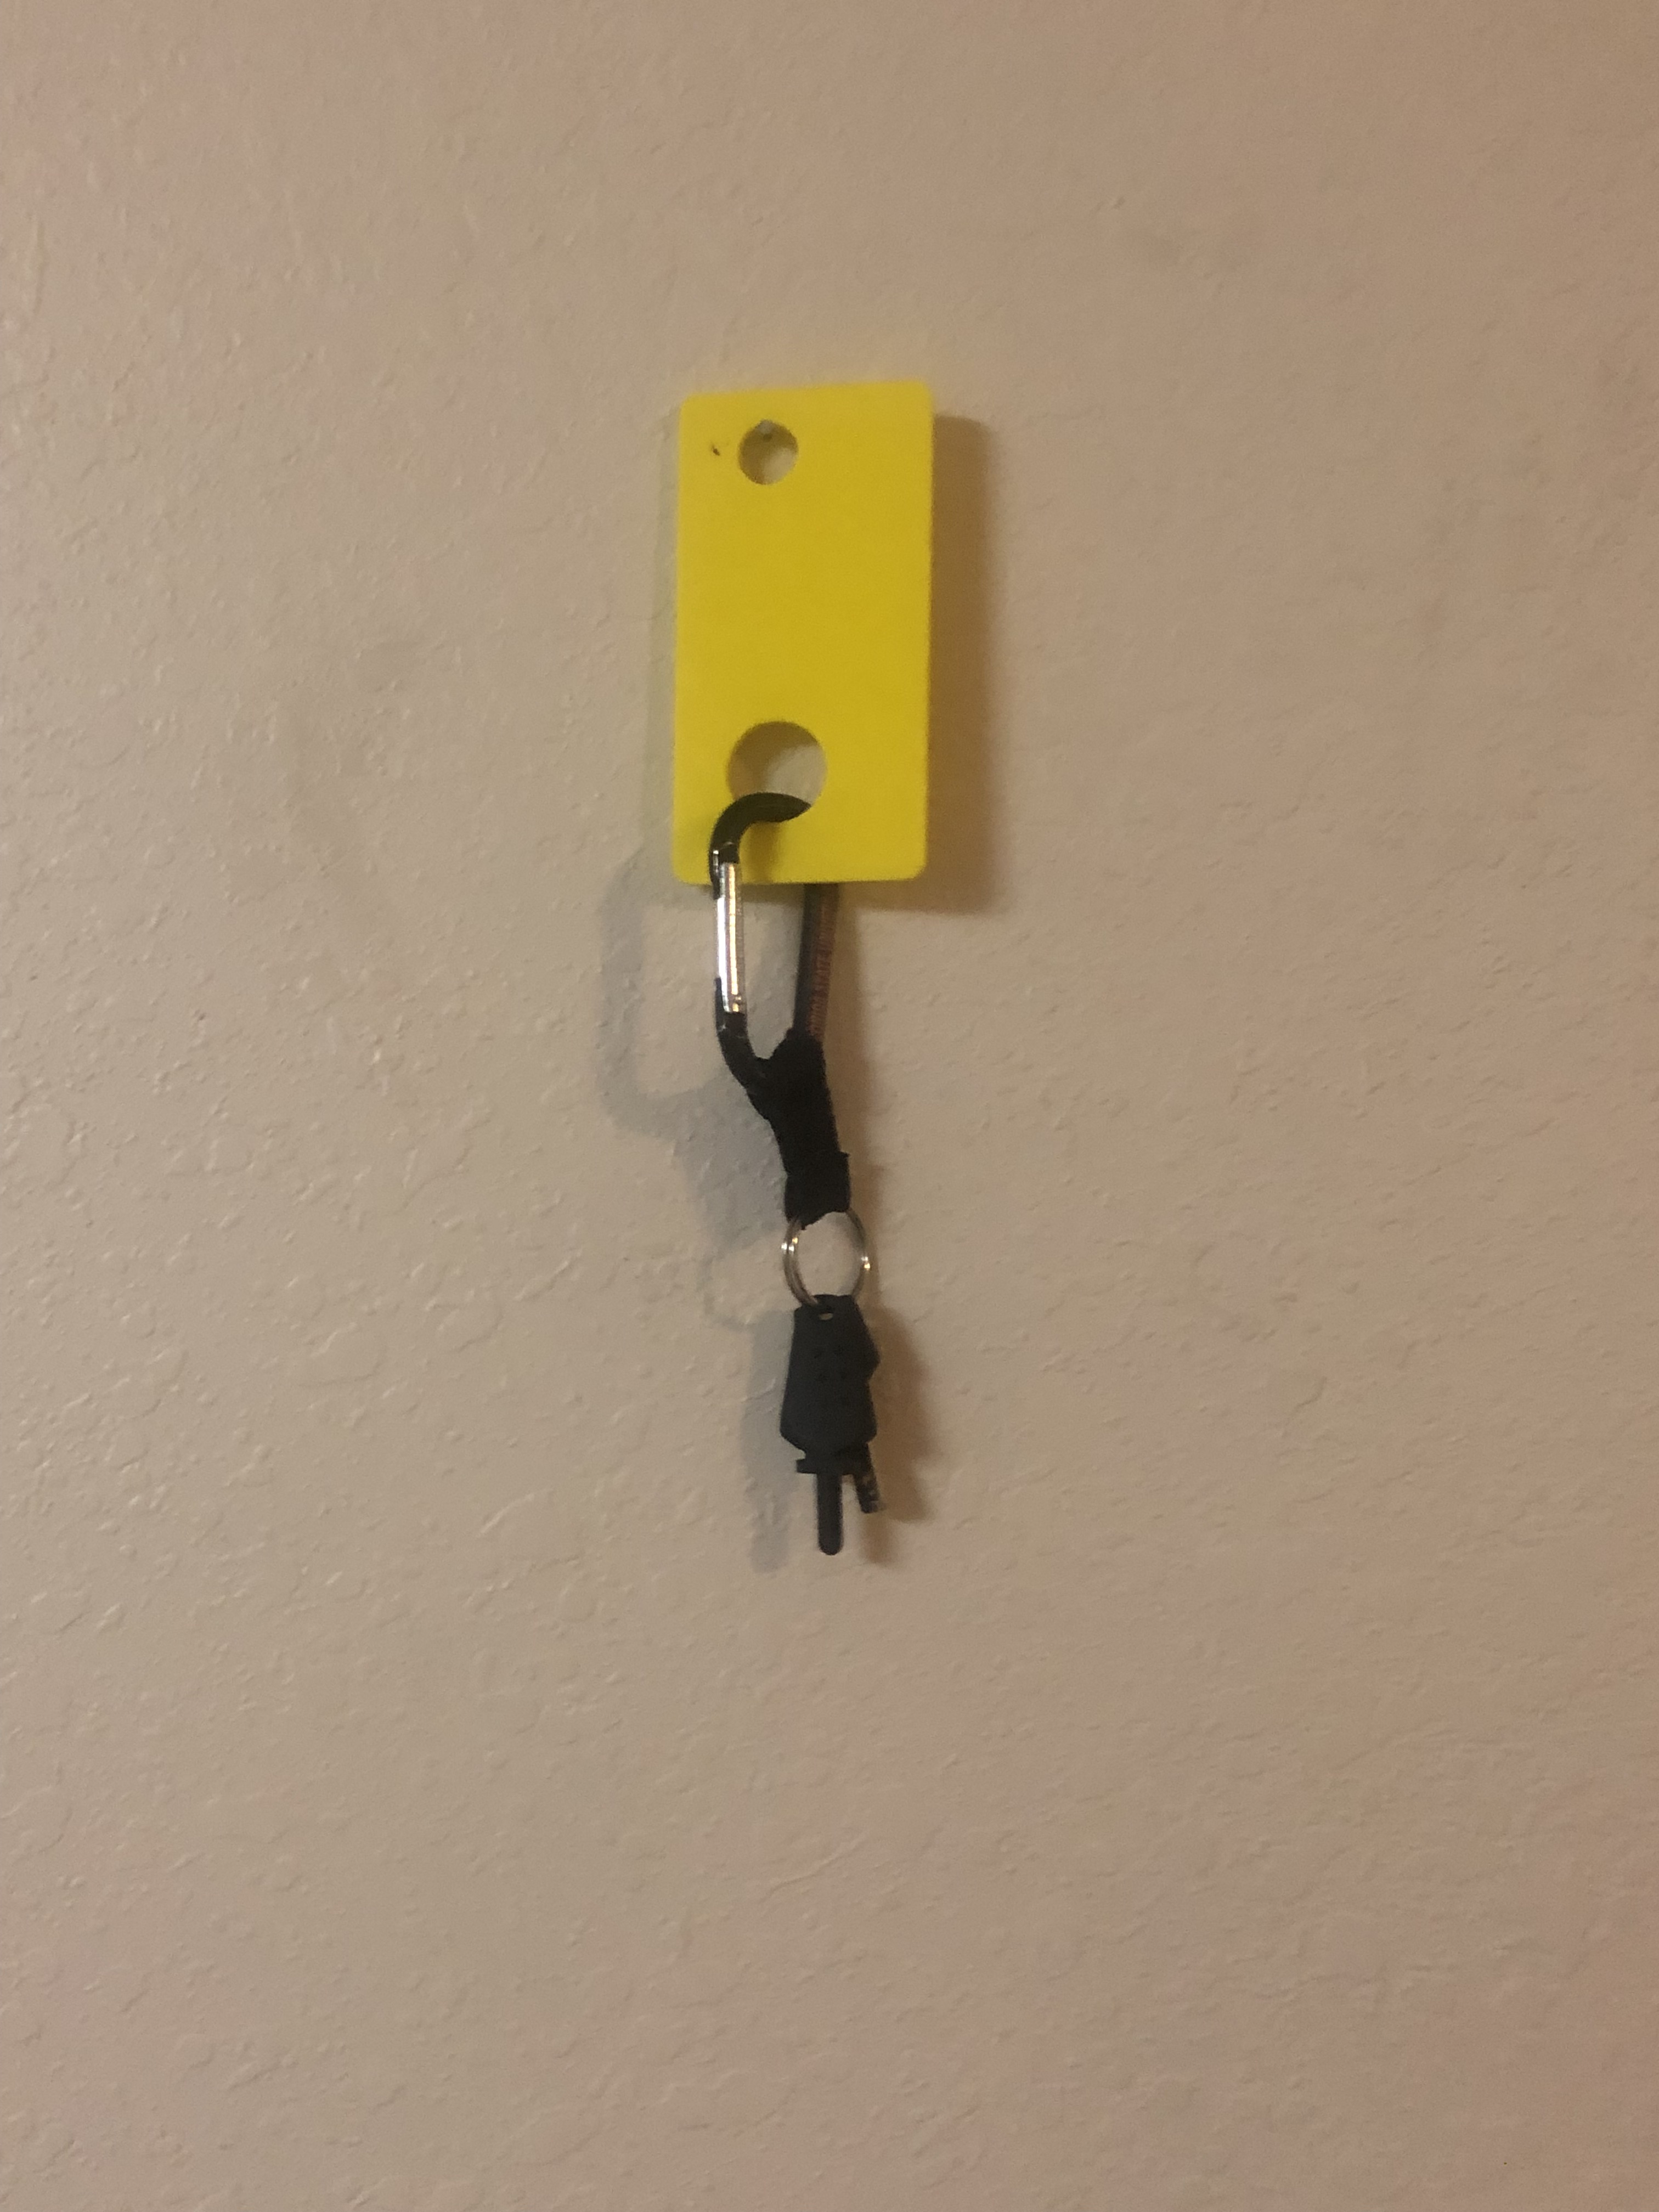
I printed a small keyholder that could be hung on a hook on a wall. It worked effectively, as can be seen in the second picture that I included. Although this was a simple creation, it was cool to use a 3d printer for the first time.
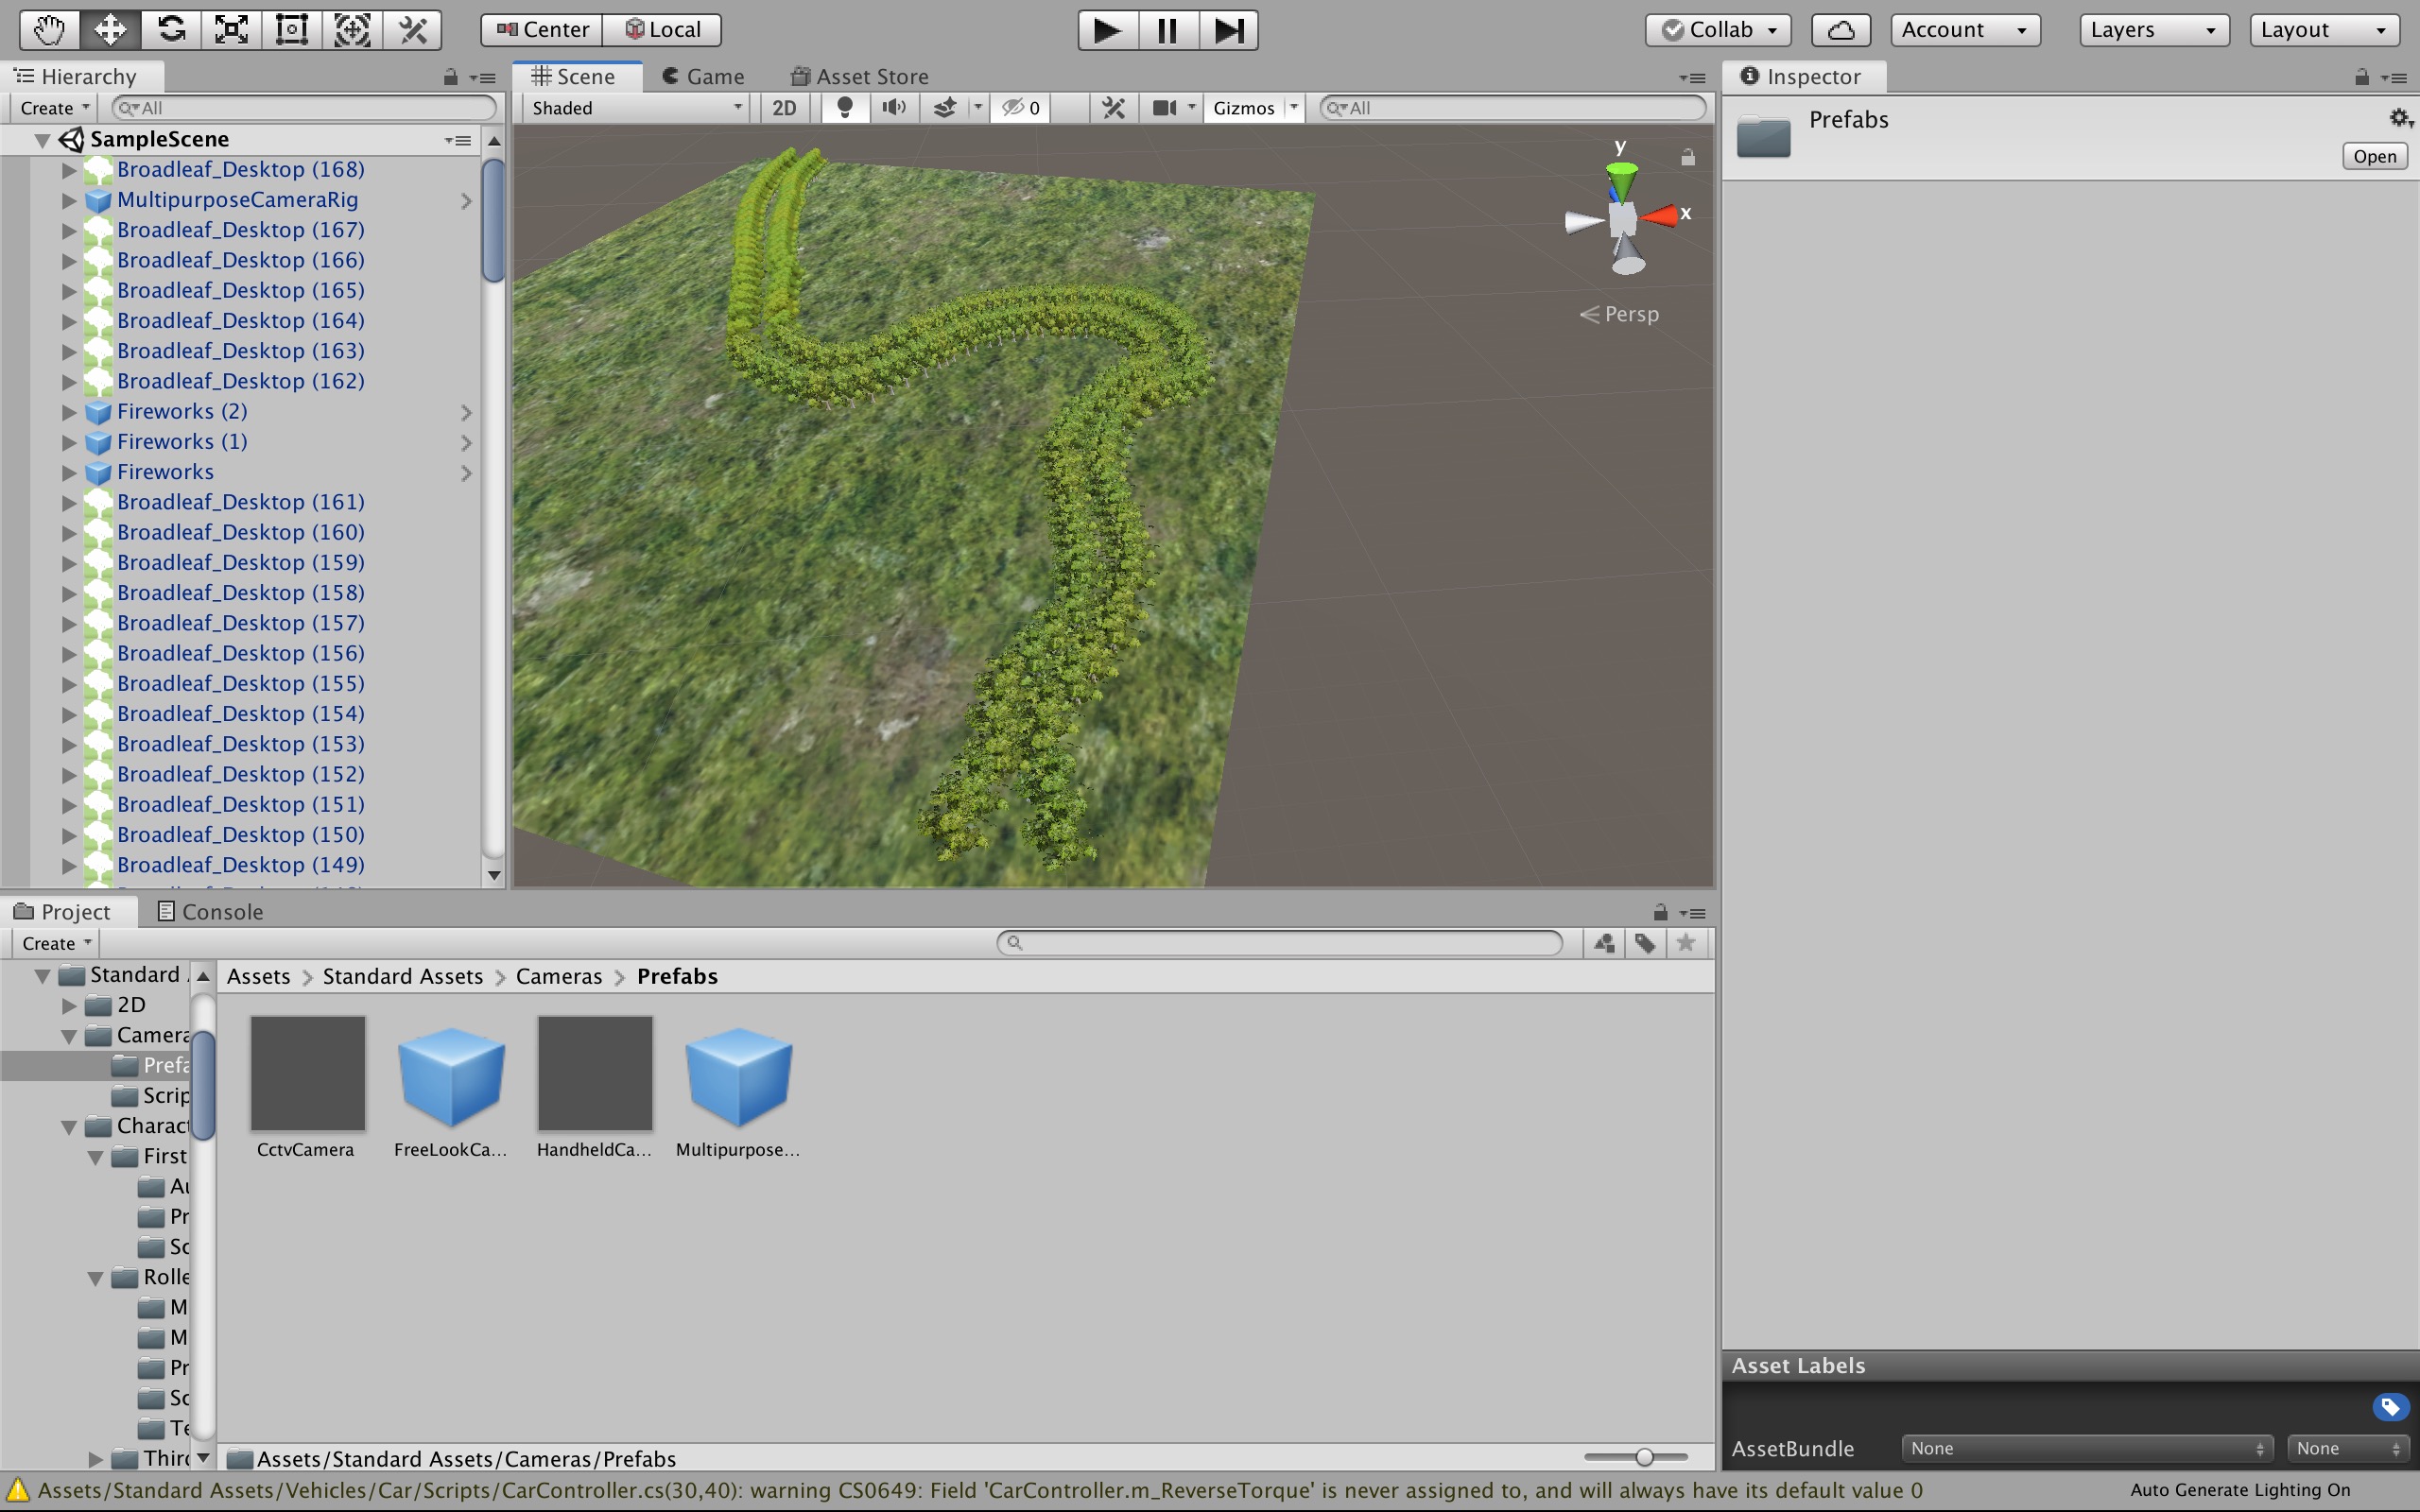
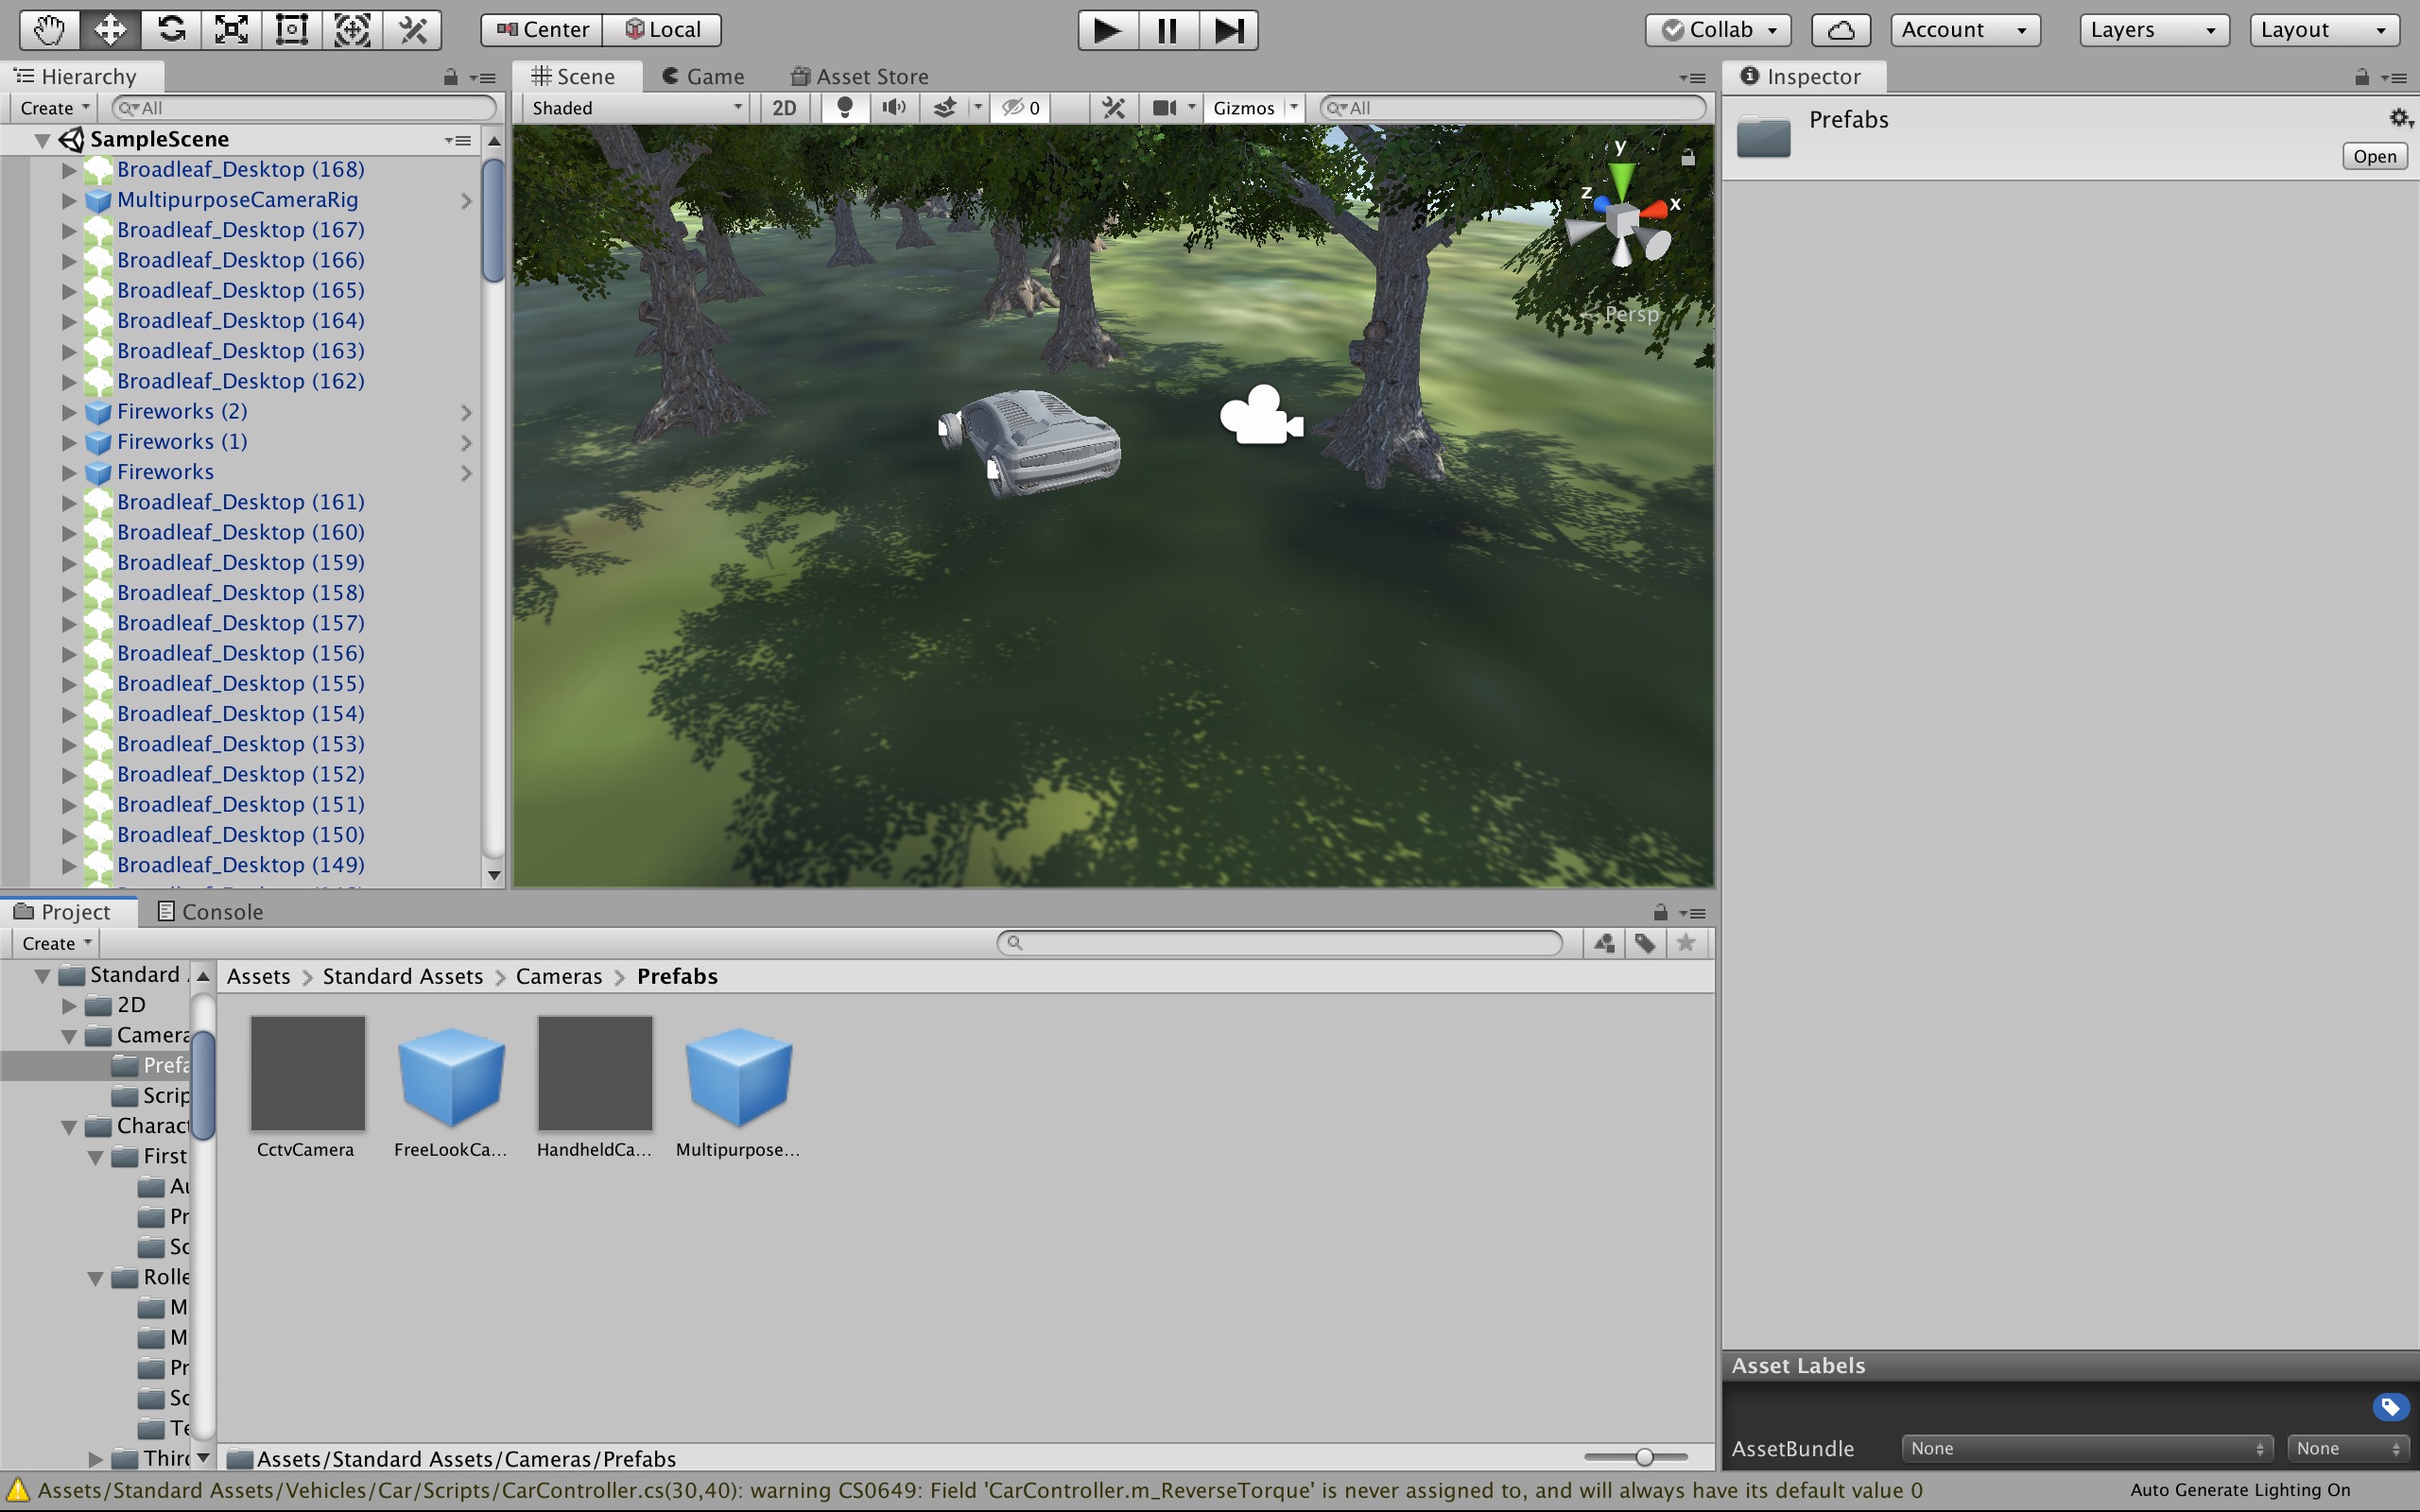
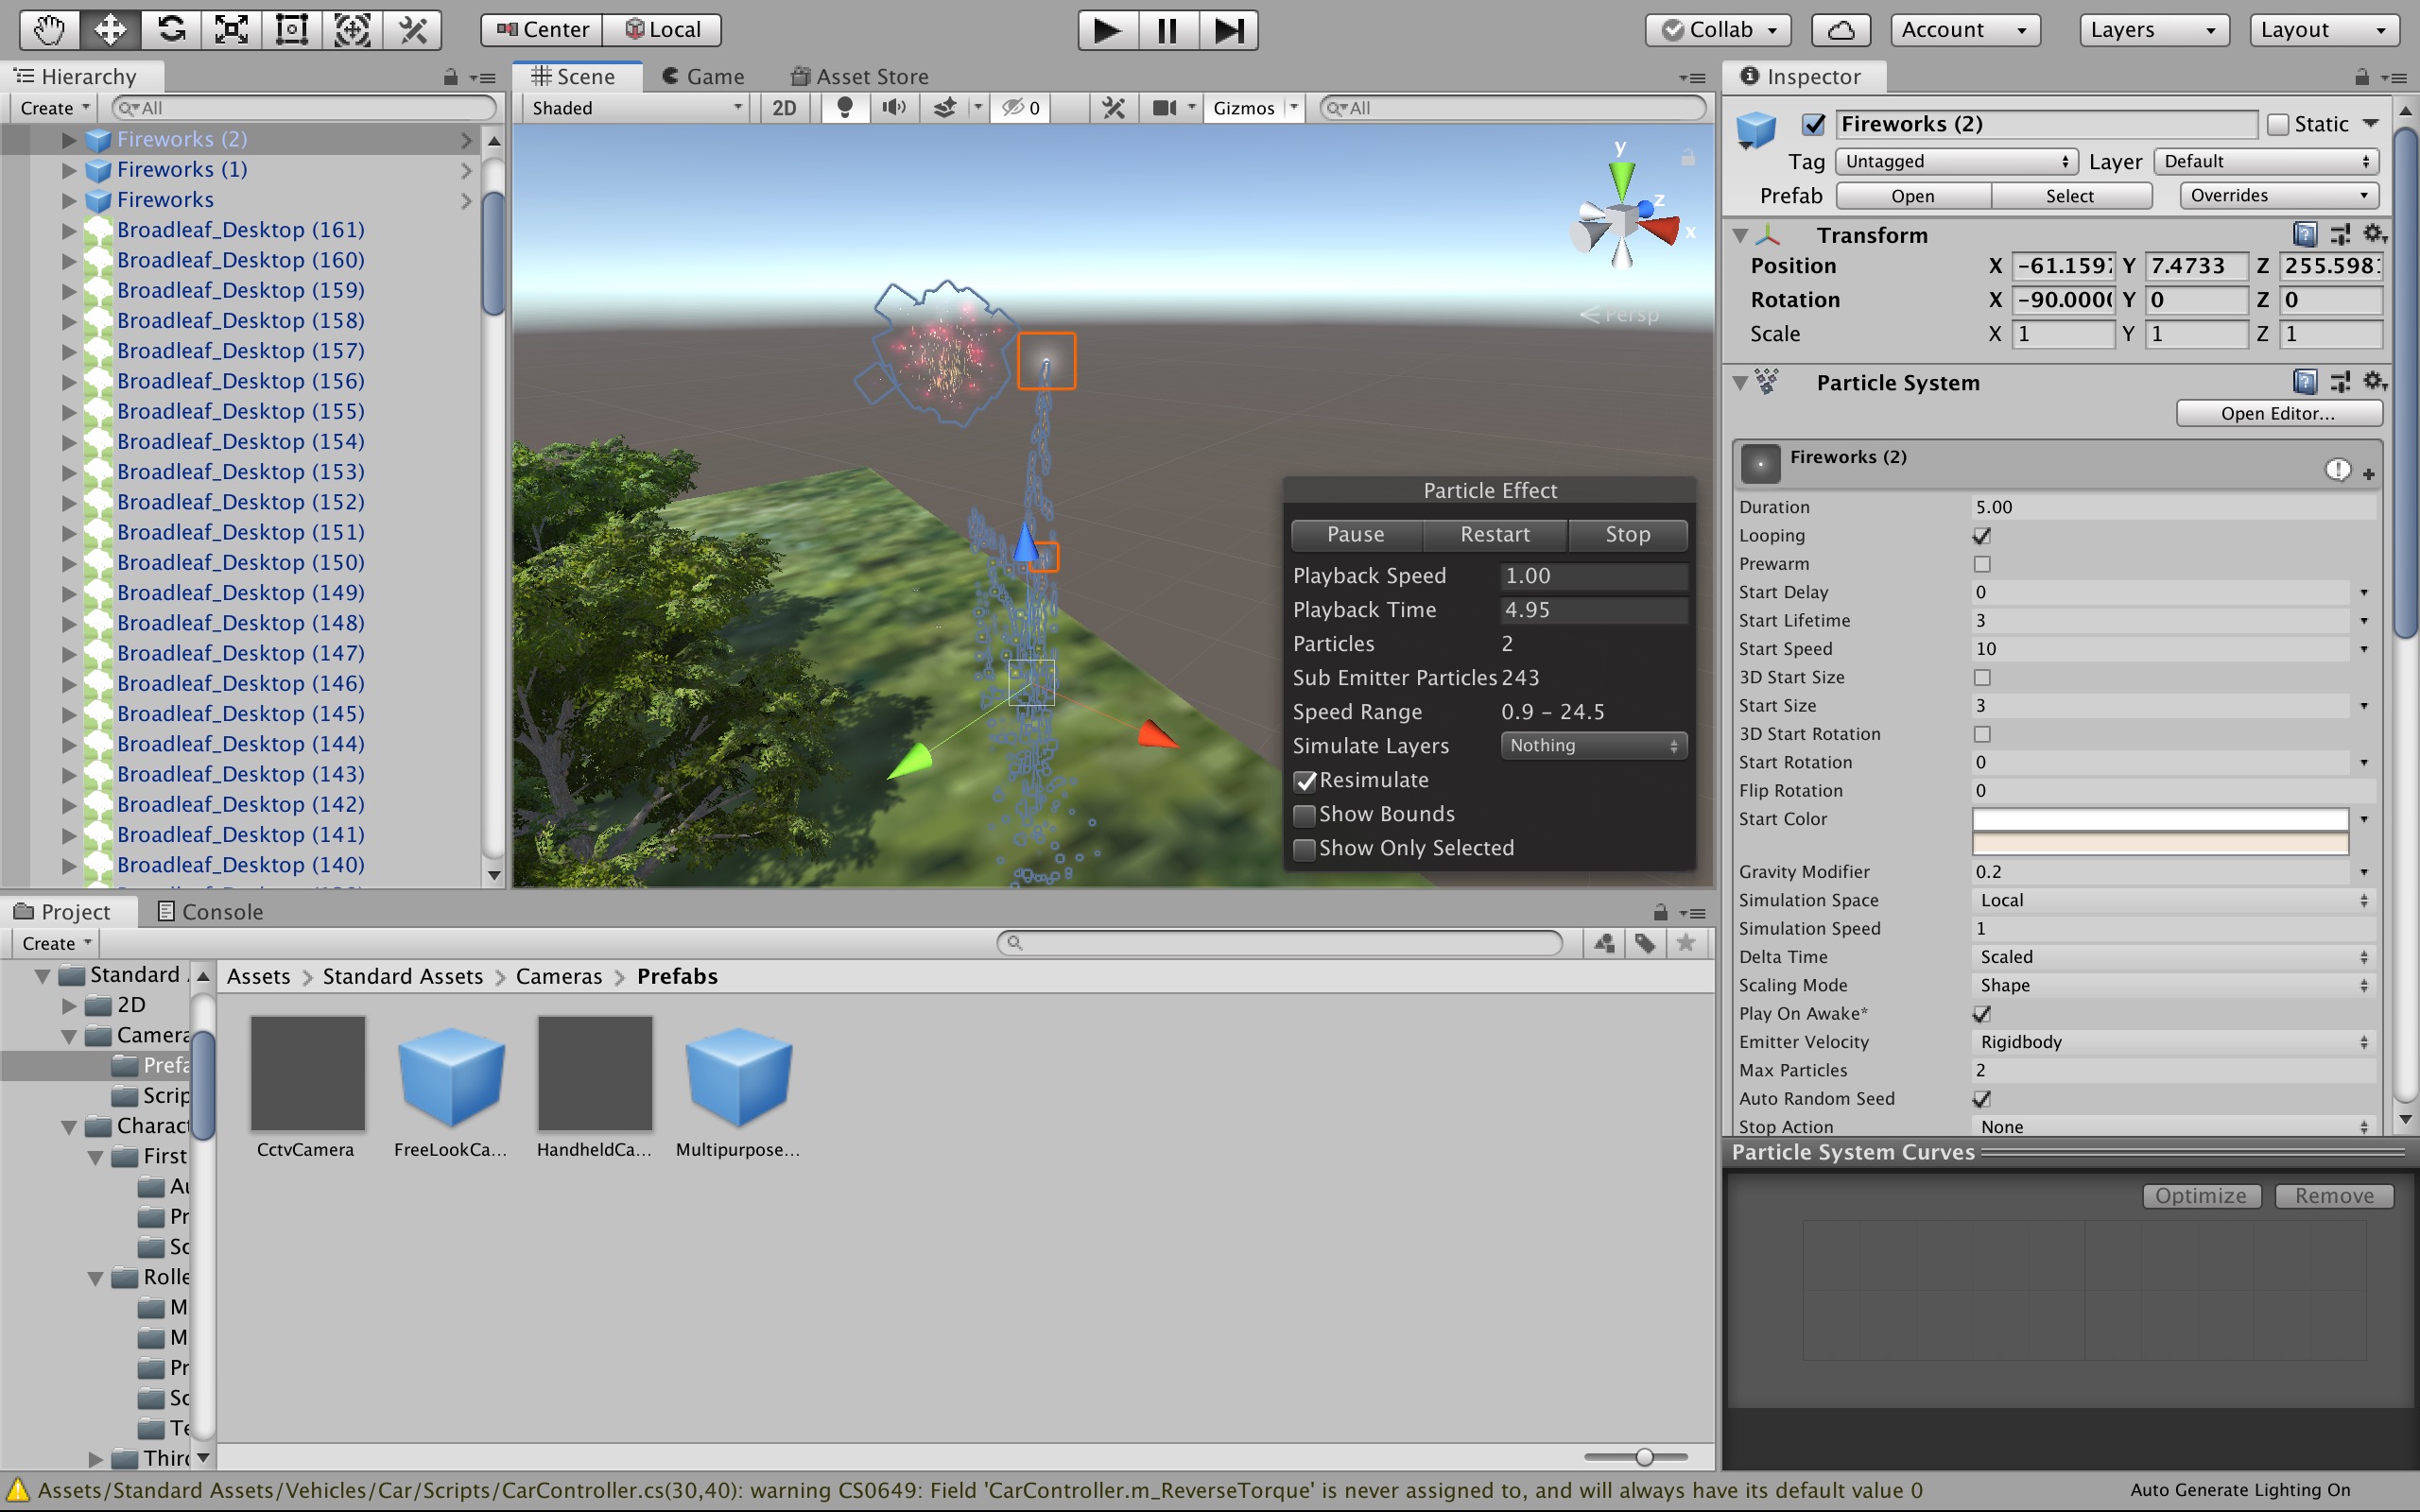
Using unity, we created an app that had a car driving between trees, and once reaching the end there would be fireworks. The most tedious part of making this was individually putting in all of the trees. We also struggled to figure out how to get the app working in virtual reality. The reason why it wasn’t working initially, is because we had a mac specific version of unity that didn’t work on the windows computers in the innovation hub, until we installed a plug in that solved this problem. Also, the controllers with the headset did not work, so we had to use the keyboard to move the car. We couldn’t figure out how to put the video on wordpress, so I will submit that on canvas instead. By the way Bennett Spence is my partner, here is a link to his blog post https://blogblogblog.food.blog/2019/08/01/virtual-reality-project-journal-entry-12/
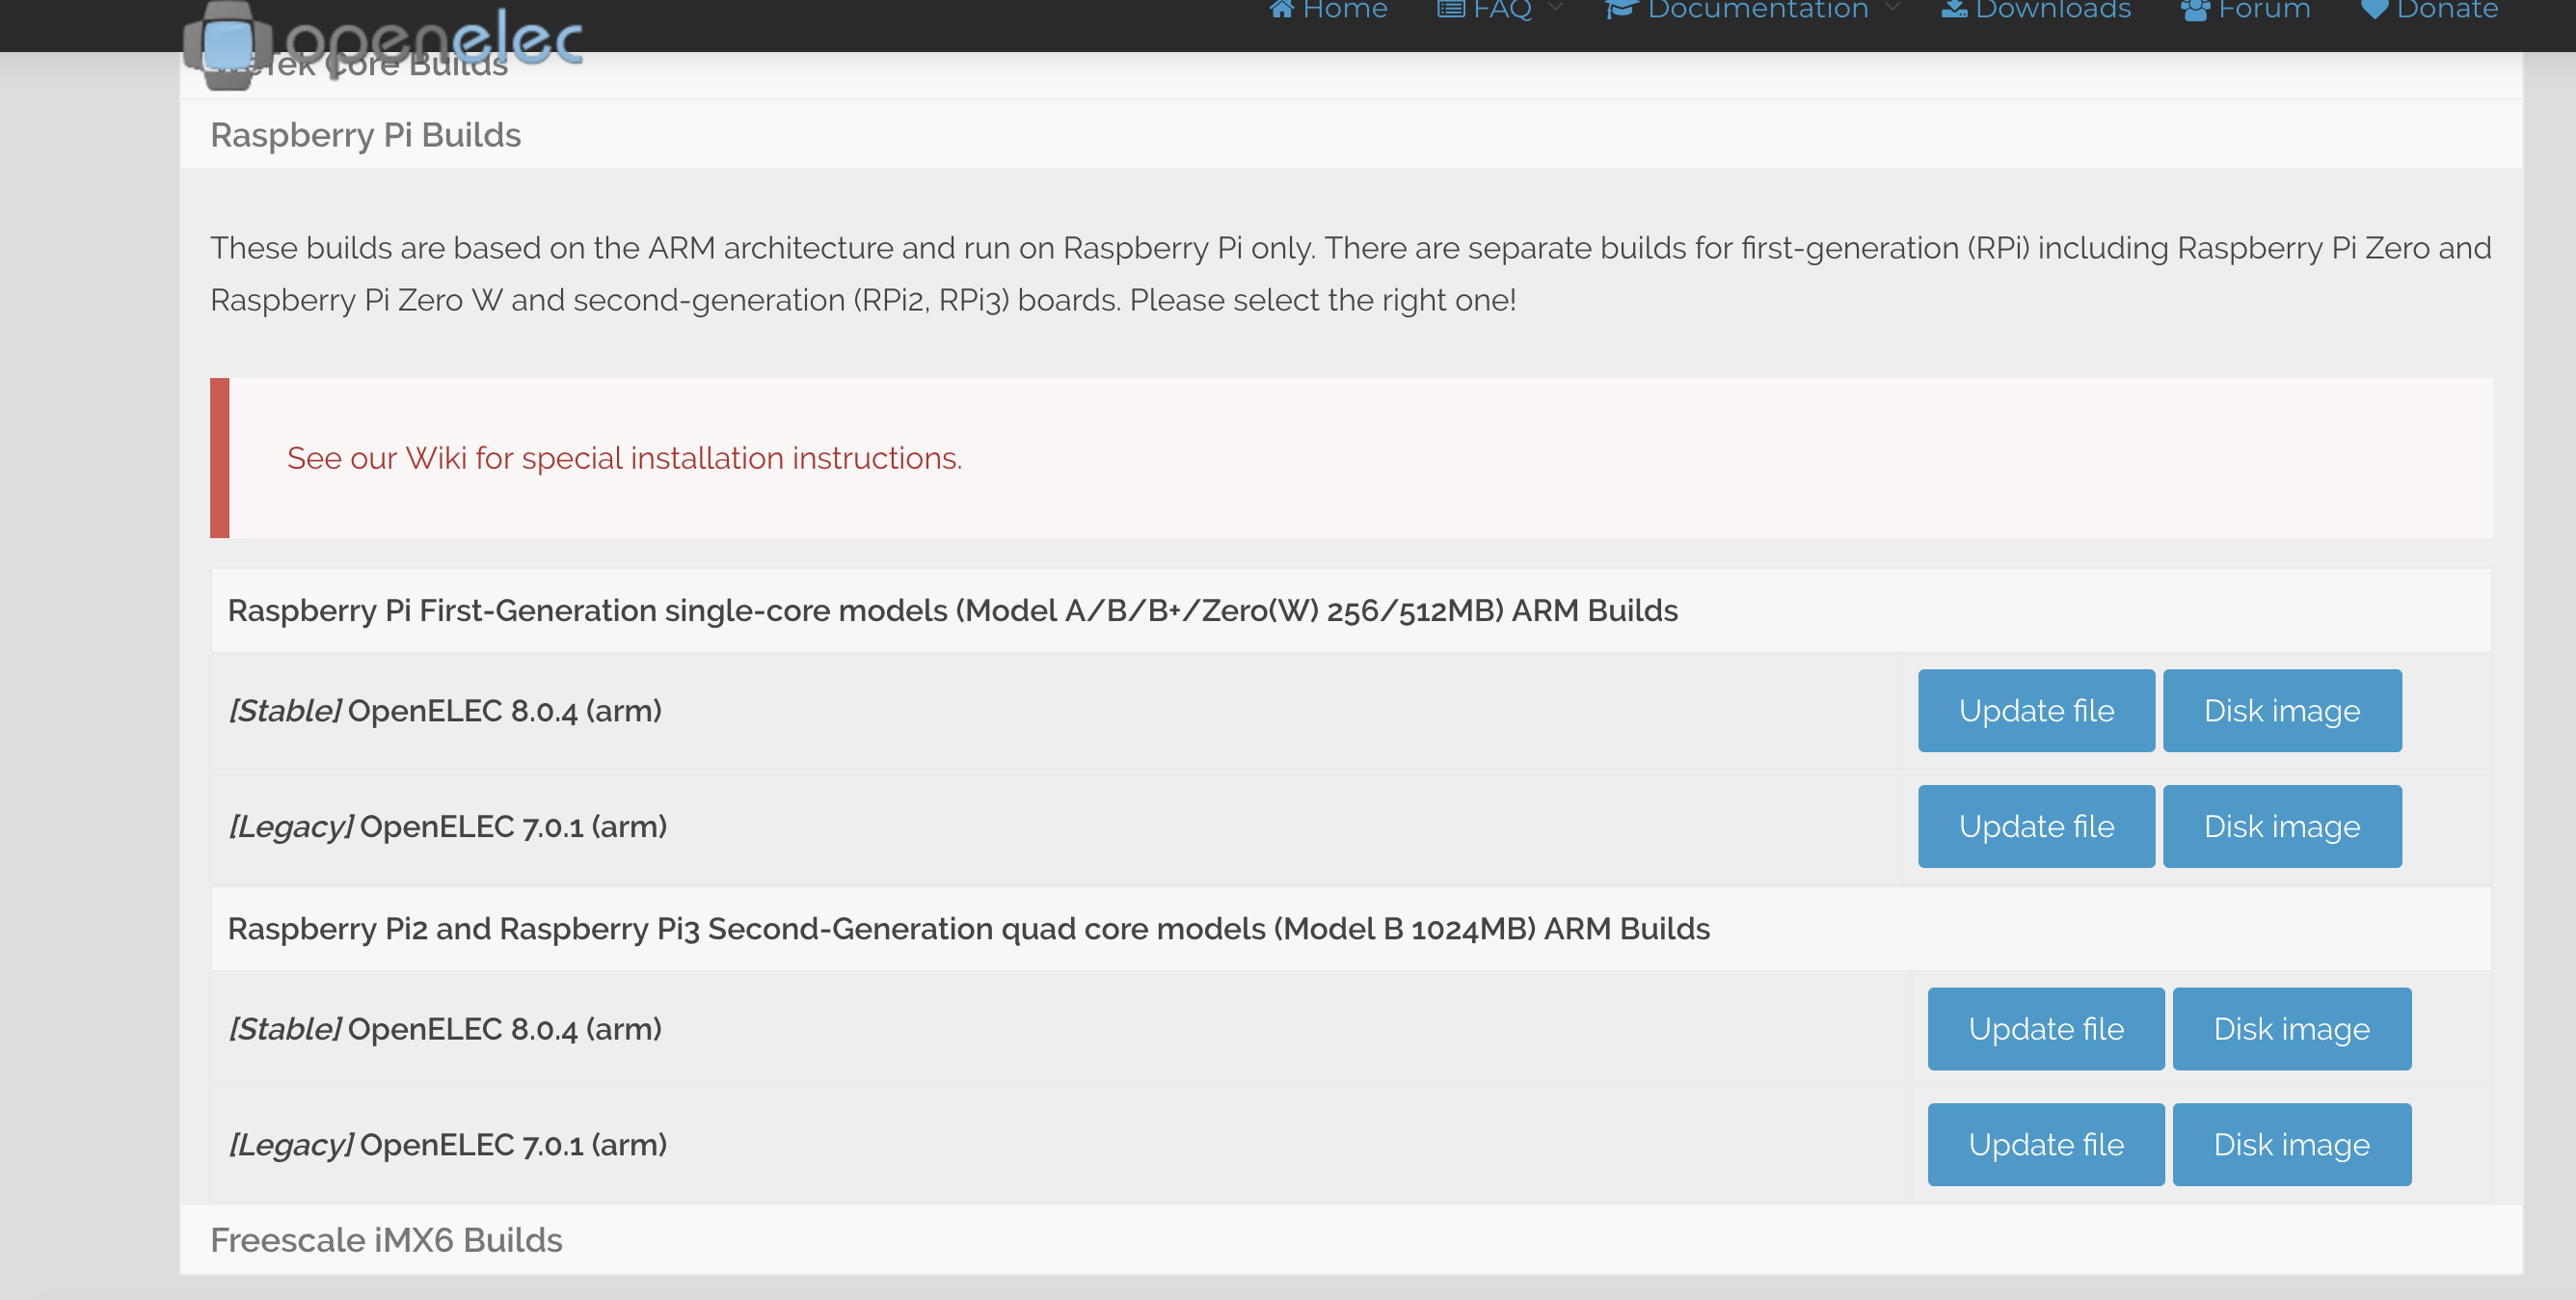
I chose to keep my assessment grade for this assignment, but had I chose to create something with the raspberry pi, I would have chosen to turn my regular tv into a smart tv following this youtube tutorial: https://www.youtube.com/watch?v=xyOstl8y4ak. The tutorial was pretty short and actually seemed very simple, showing how to install openelec onto a raspberry pi directly from their website. Since I already bought a raspberry pi, I will probably do this when I go home for the summer, as I will also have access to a computer that can have an sd card plugged into it (mine can’t).
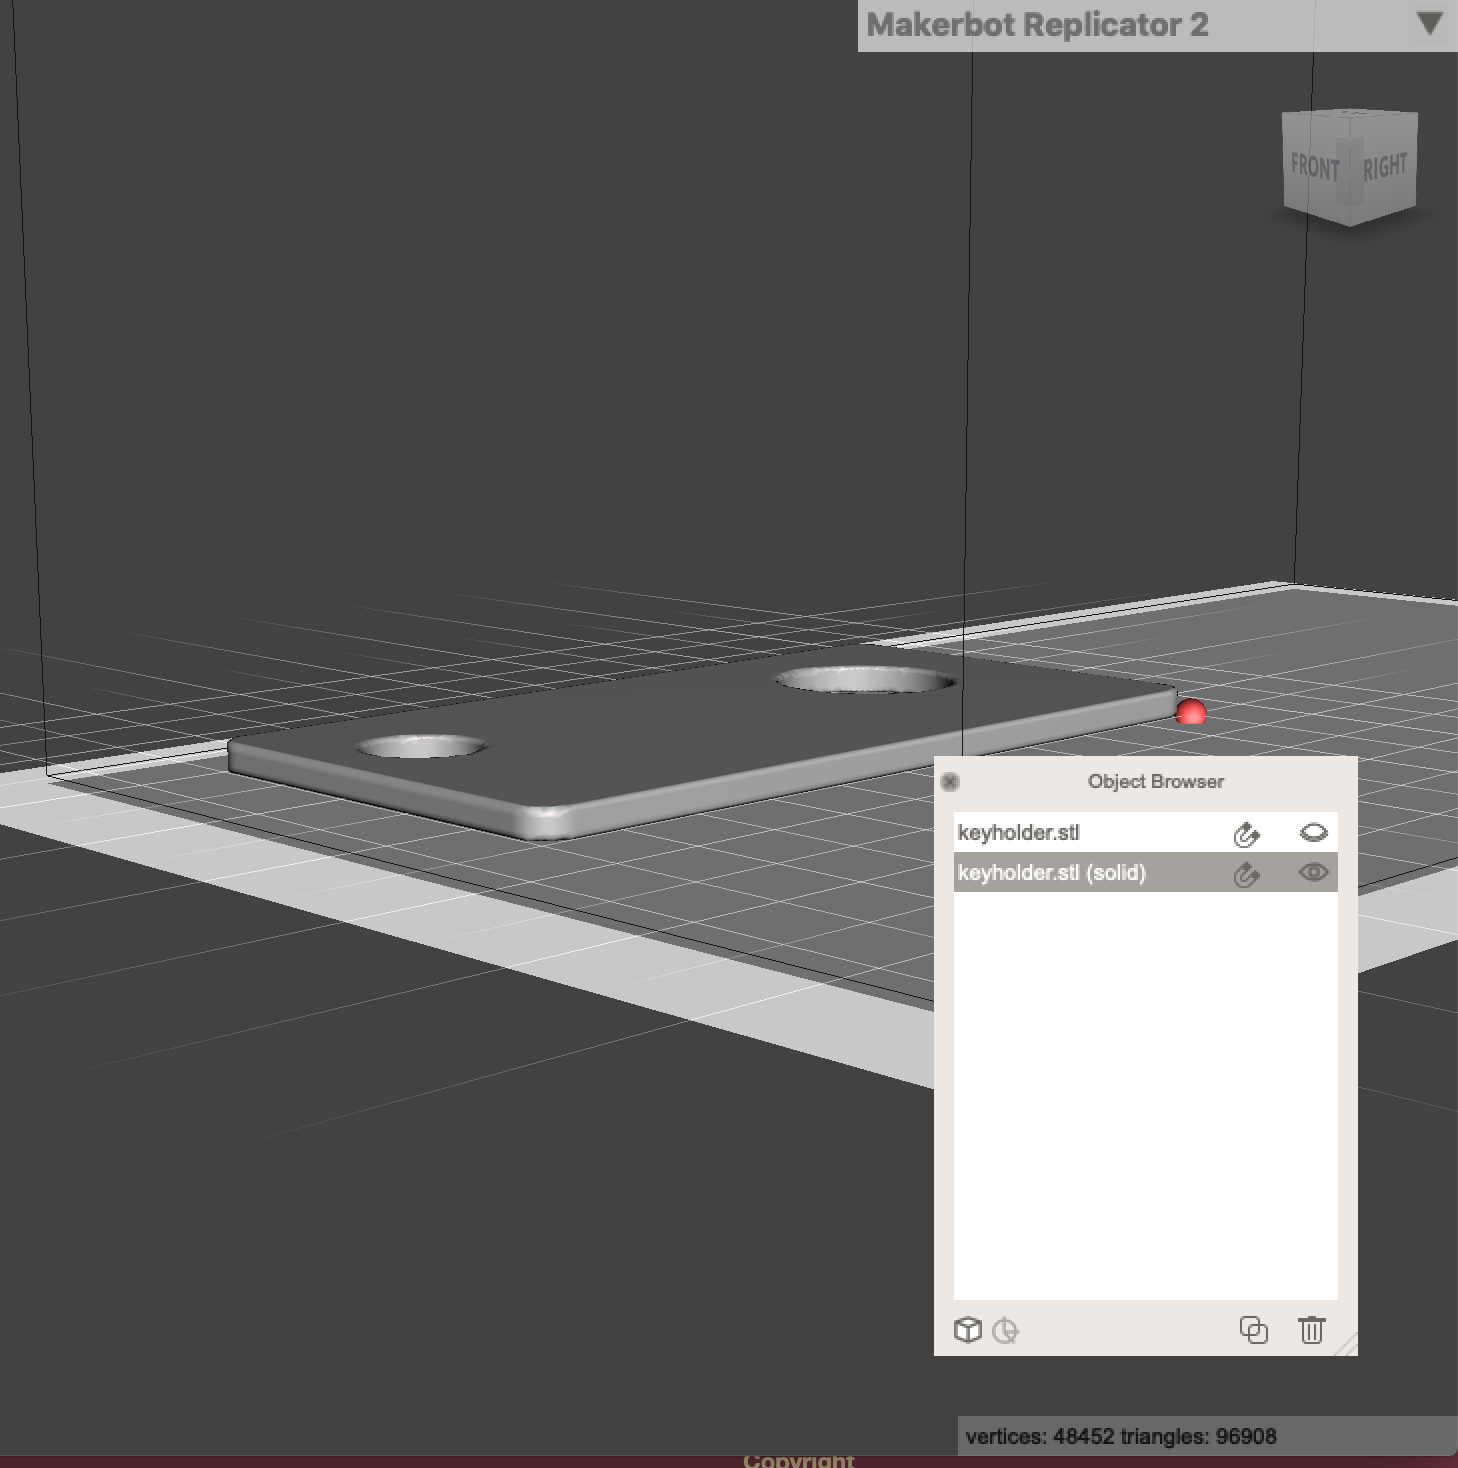
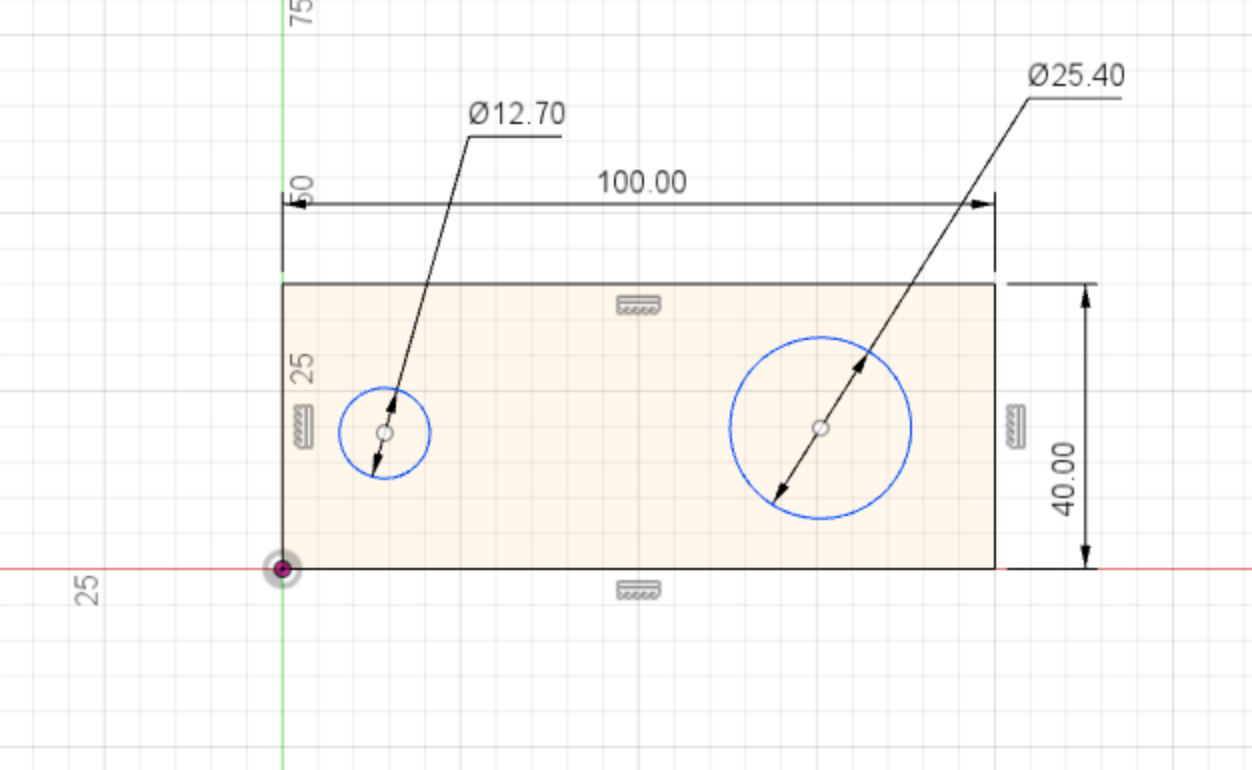
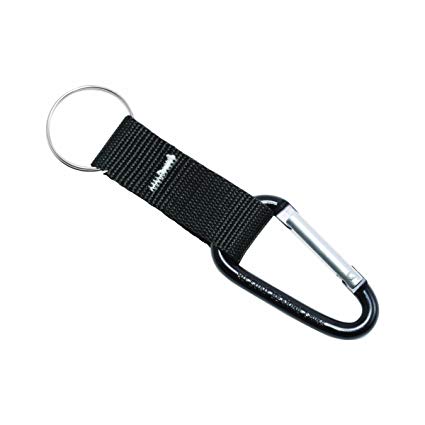
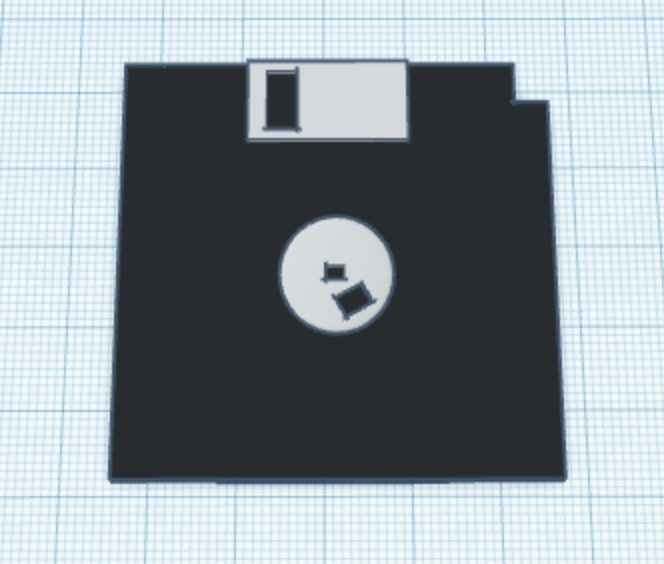
I am going to be printing a key holder that can be placed on a screw on a wall. Originally I planned on making a more complex variation (will include a picture from google images as my last screenshot), but this was way too hard for me to do, so I went for a more simple design that is pretty much a rectangle with rounded edges and with 1 hole on each side. I may have to adjust my measurements to make this usable, but I made the rectangle 100 mm by 40 mm and made the holes 1/2 inch (to hang on the screw) and 1 inch (to be able to hold a keychain, which I will include as my third screenshot). I also may add some kind of design or letters in the middle to make it look less boring.
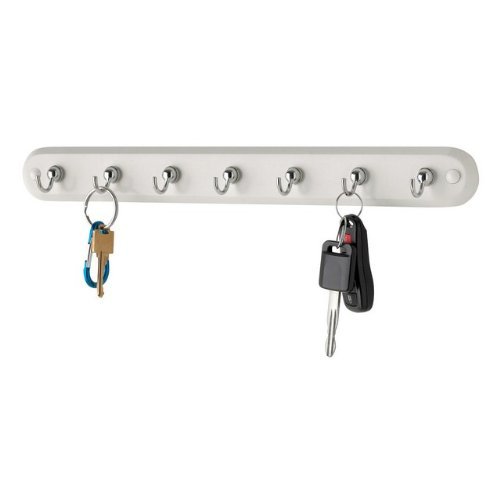
I always forget where I put my keys when I get home so creating a key holder would presumably solve this problem. I feel like this issue is pretty self explanatory so I am just including a picture of the wall where I would place the key holder (if possible).

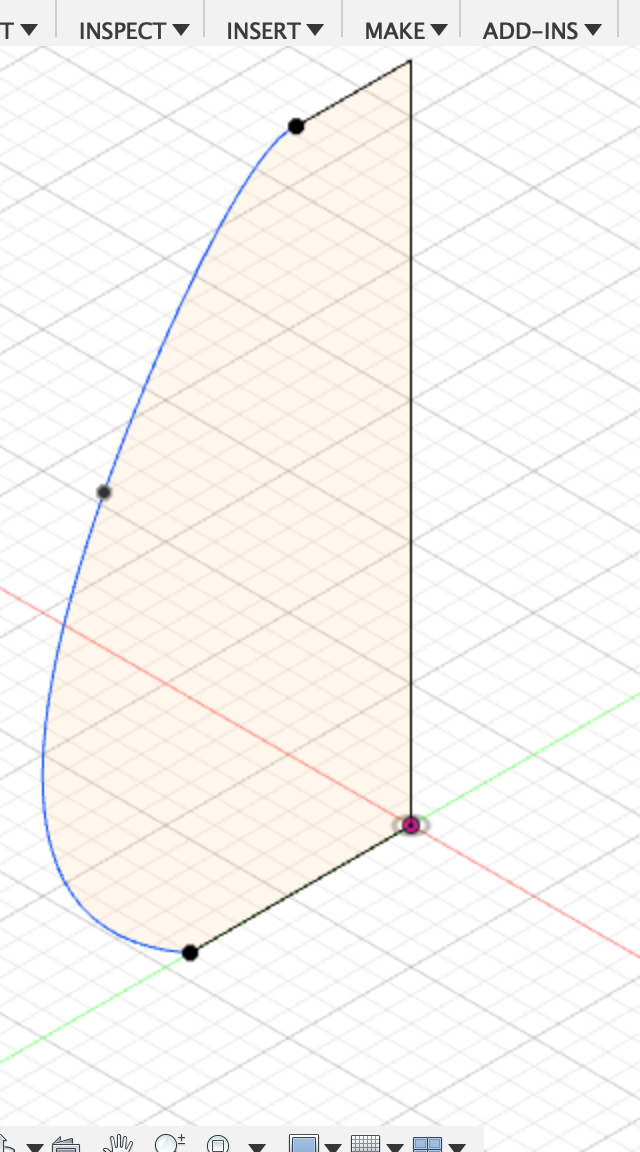
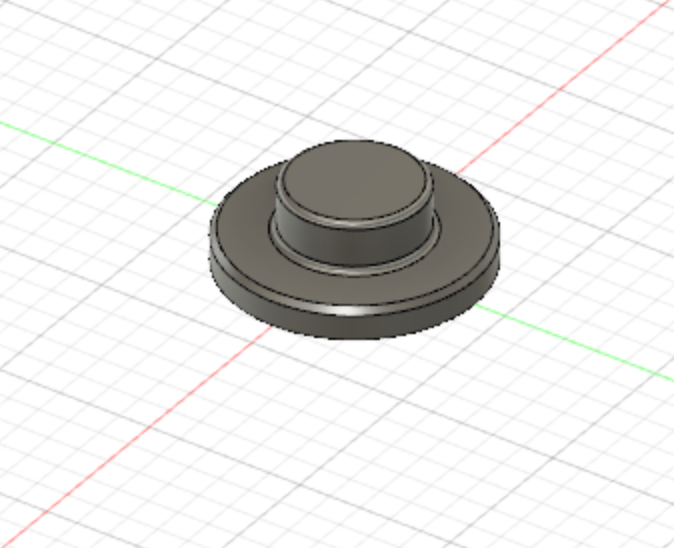
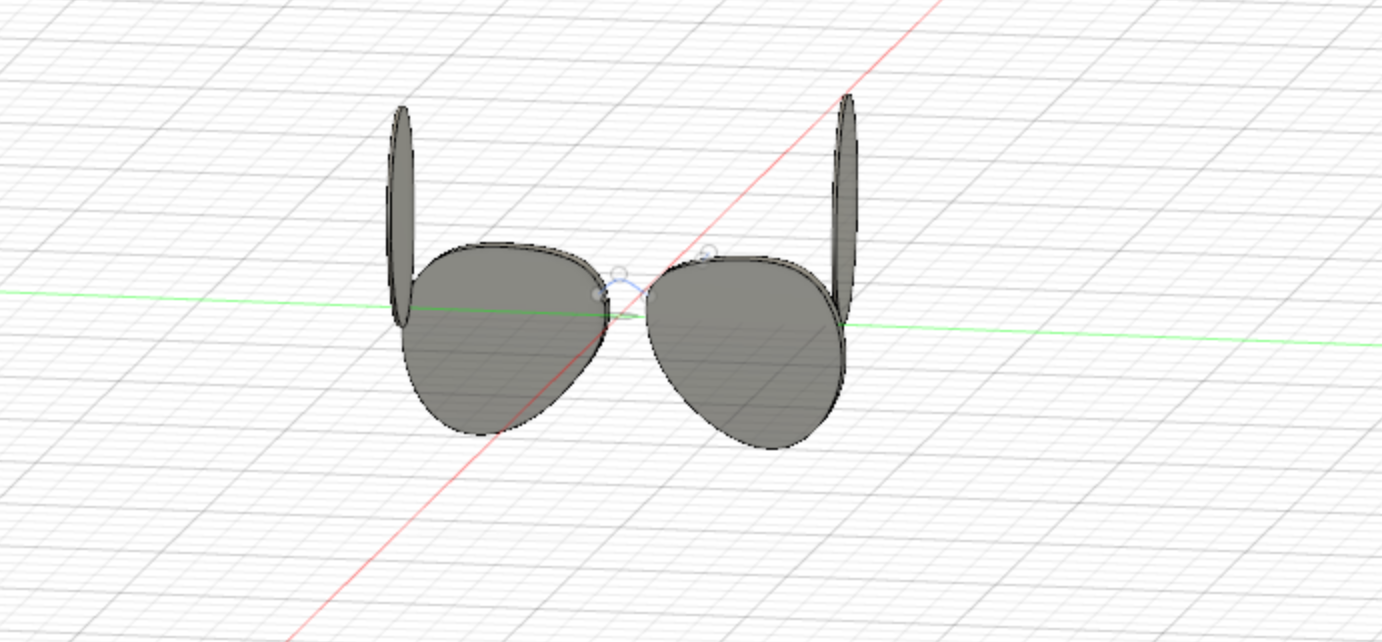
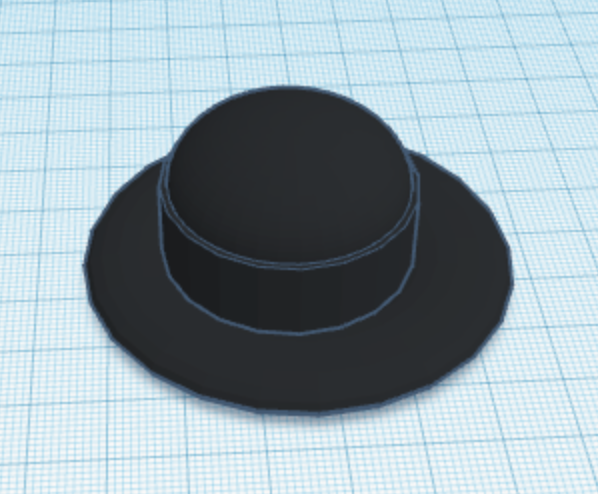
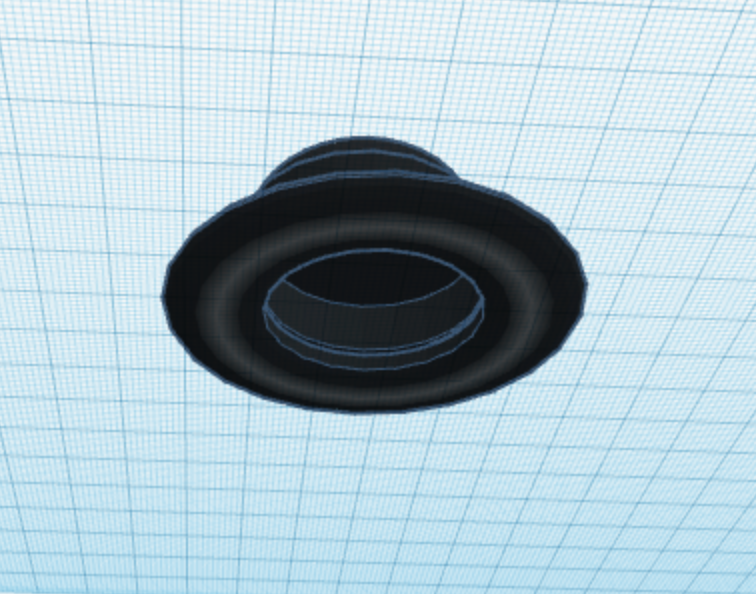
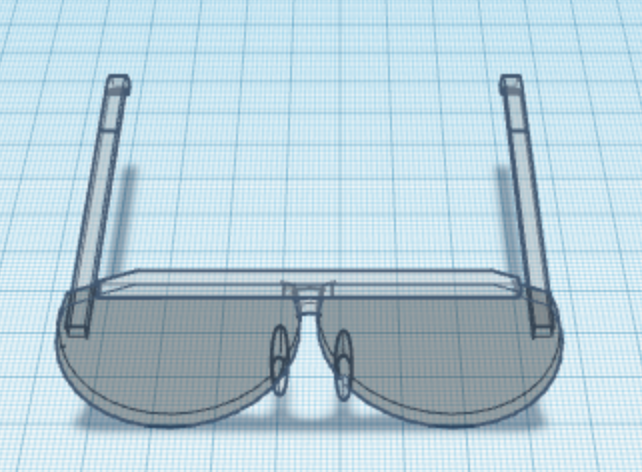
I found fusion 360 to be much easier to use than freecad, but I definitely am not good at 3d modeling in general. The tutorial shape for fusion 360 was the easiest creation of any so far yet in my opinion. I attempted to follow the tutorial for the lampshade also, but I had trouble resizing the image attached in the tutorial to use as an outline so I followed a different tutorial from youtube, which involved sketching your own outline for the lampshade (https://www.youtube.com/watch?v=3PnKBSOulwo). The bowler hat was kind of difficult, but it was easier to create here than it was on tinkercad. The main problem I had with the bowler hat was that I couldn’t figure out how to make the top round, but I used the chamfer feature which seemed to help a little bit. The aviators were a struggle, but I did the best I could.
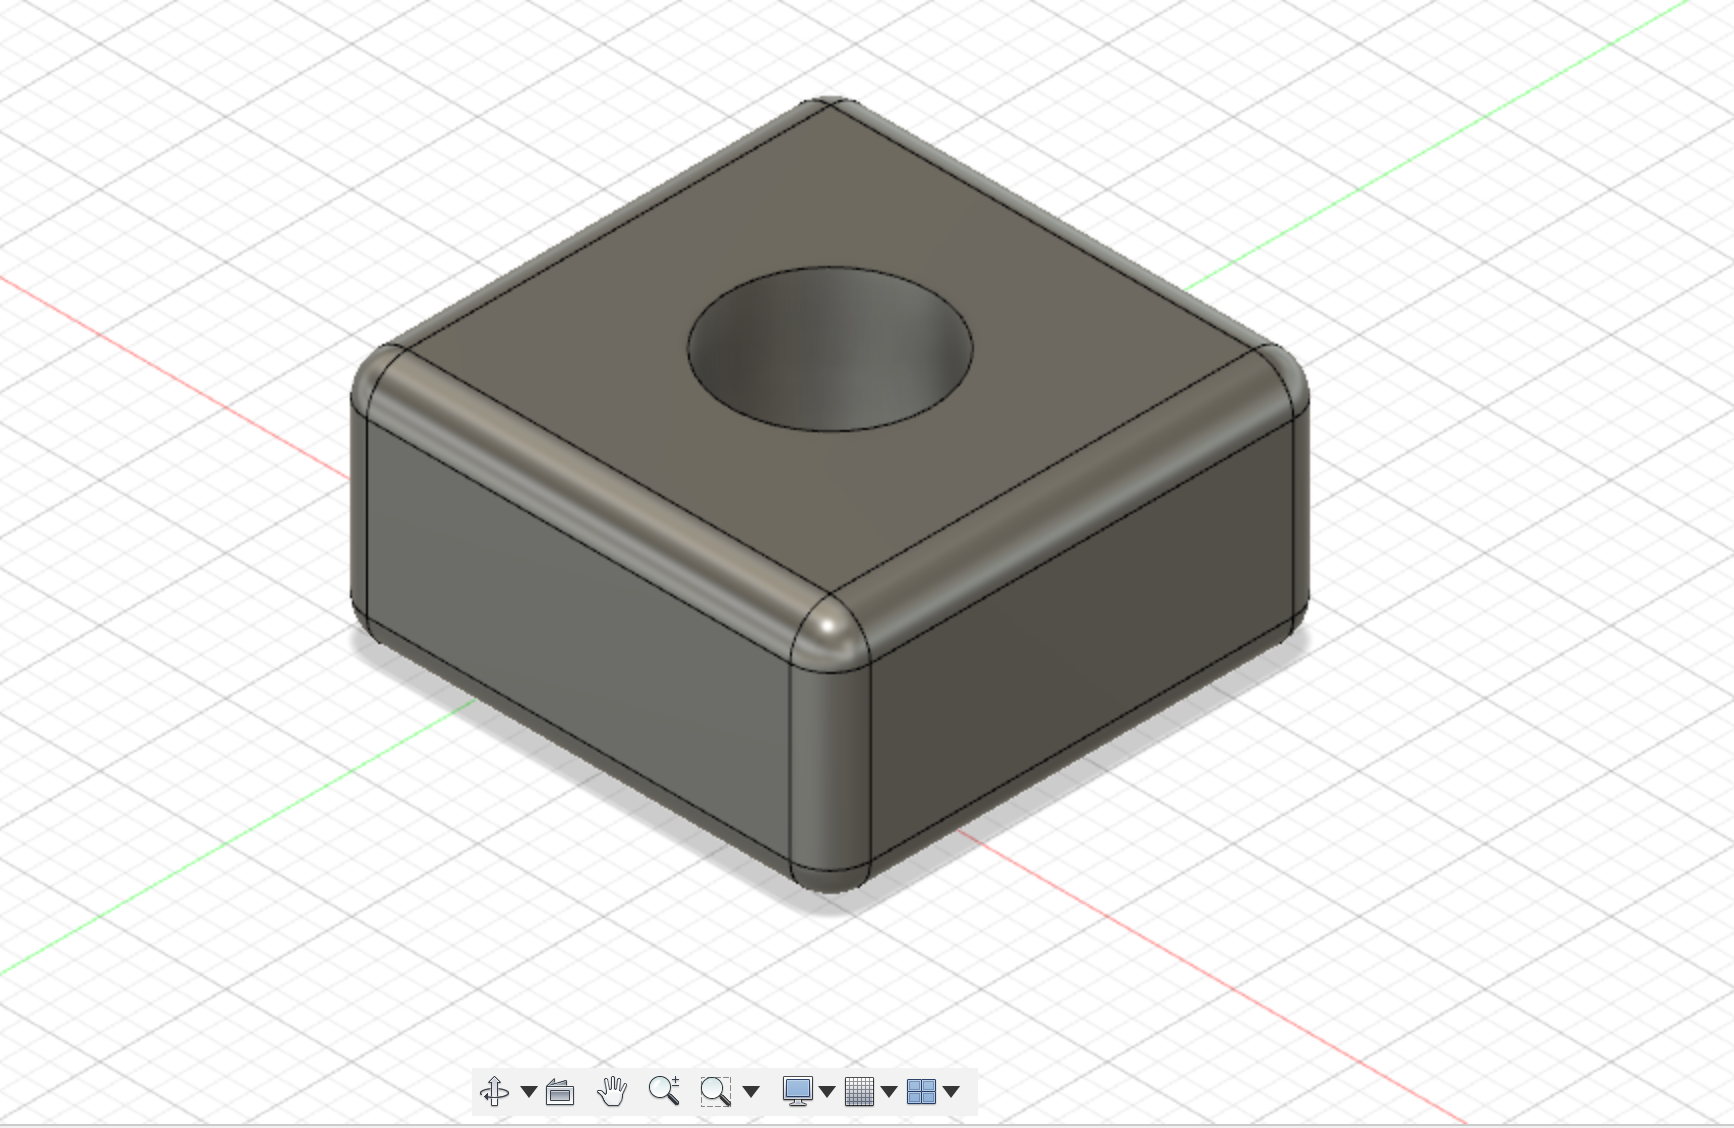


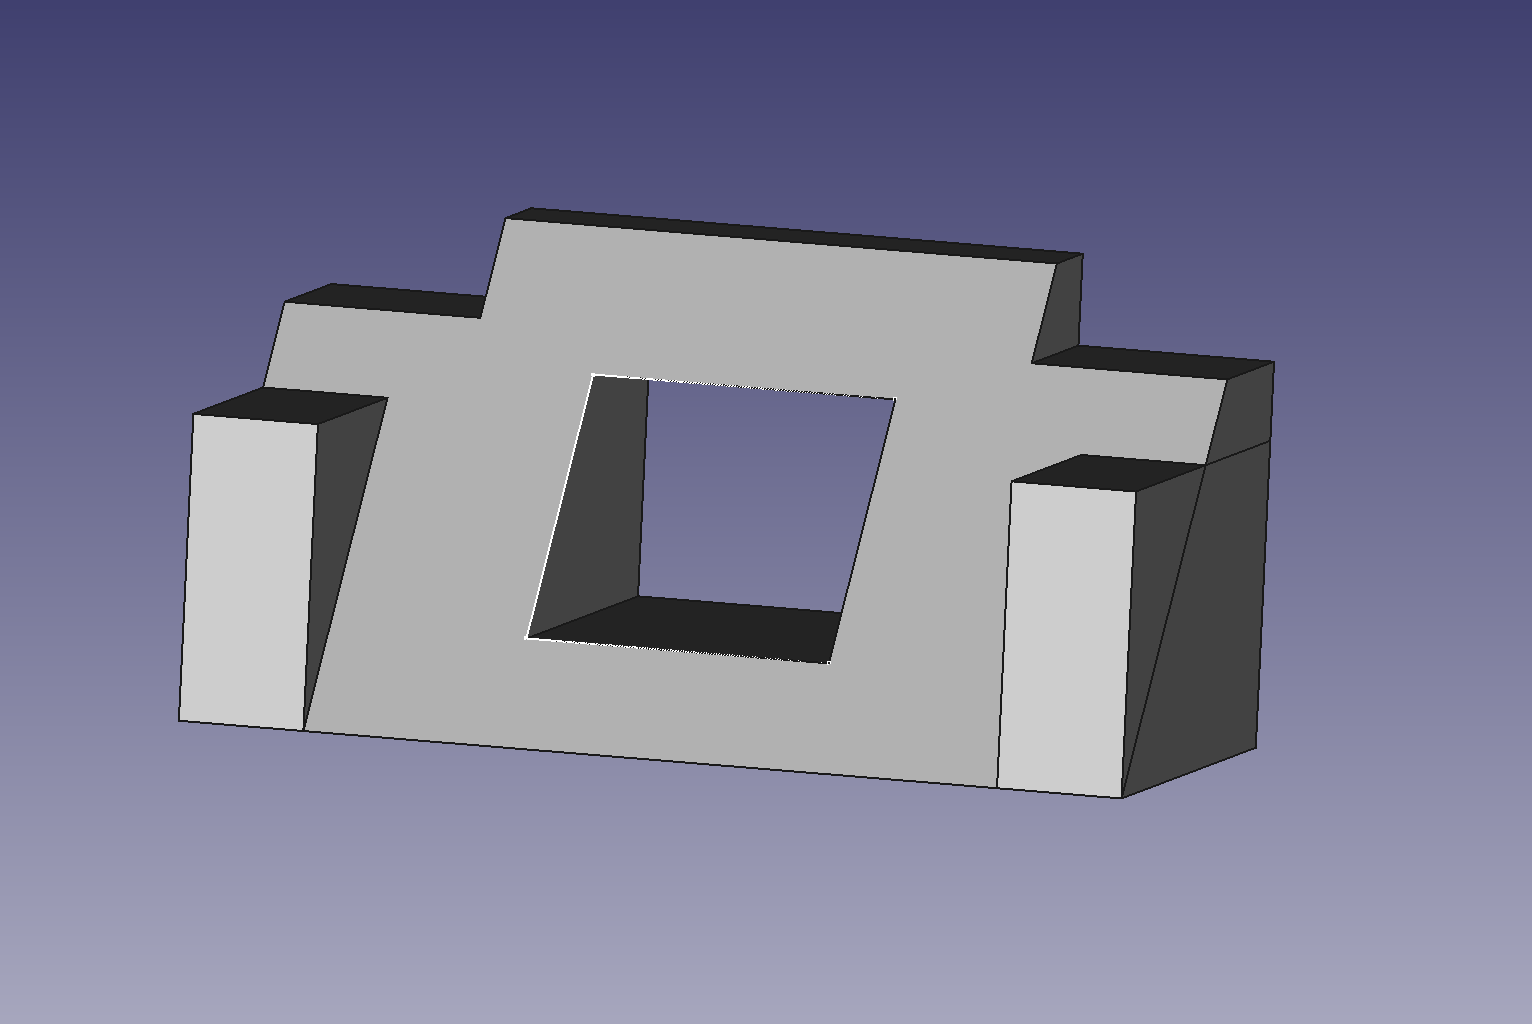
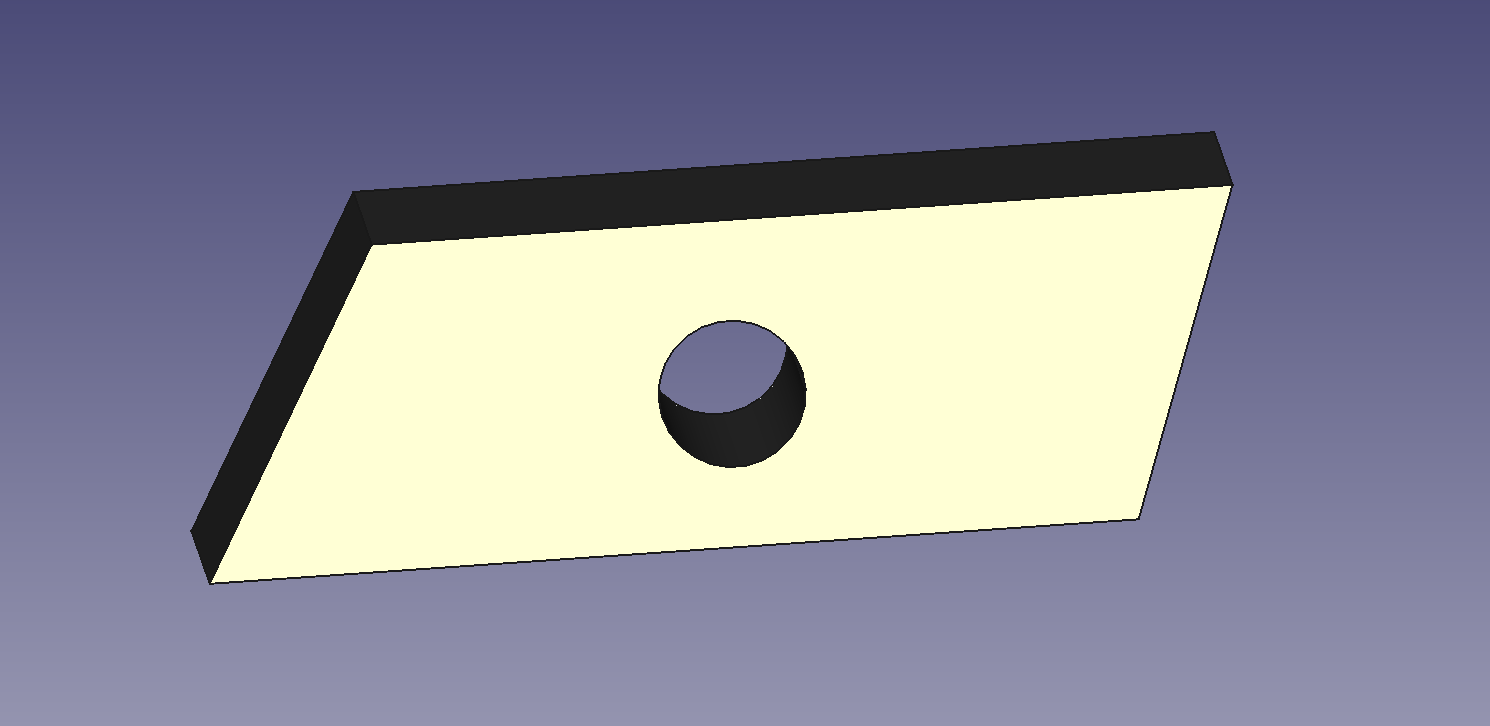
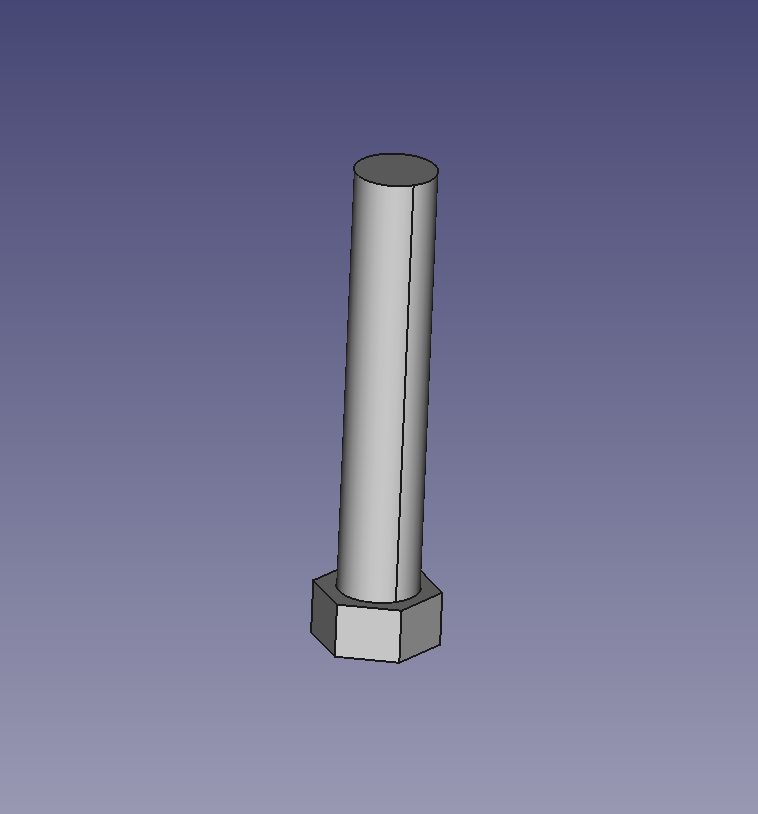
I hated freecad. It would constantly crash, forcing me to save my progress every minute, and Using the app at all was a task in itself because of its frustrating layout. I would get stuck on what should be an easy task for hours and be unable to accomplish what I wanted. Creating the item from the tutorial was annoying to me and took much longer than it should have, mostly because I mixed up certain tools when I was first using the app; for example, I failed to realize that the horizontal and vertical constraint were different from the distance constraint and was using the wrong feature for what I needed to do (changing the distance of a shape). I found the youtube tutorial video to be pretty helpful because it made it easier to eventually identify stupid mistakes like this. Making the cord holder was extremely frustrating and eventually I gave up after like the third time the app crashed, and realizing I had no idea how to create hooks that could go onto a desk. For the third part, I made a box with a hole through it and a screw that would fit in the hole.
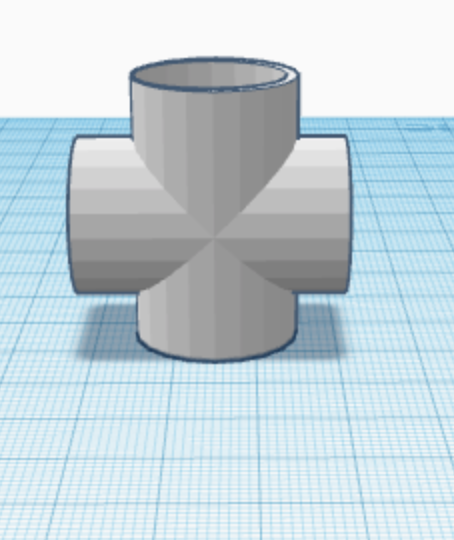
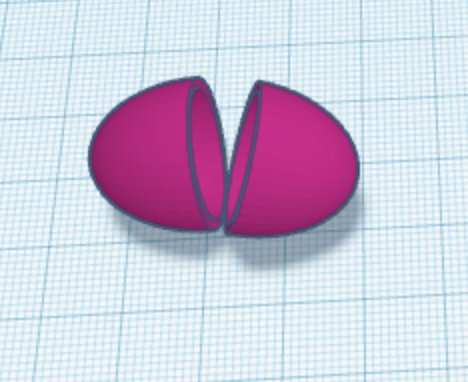
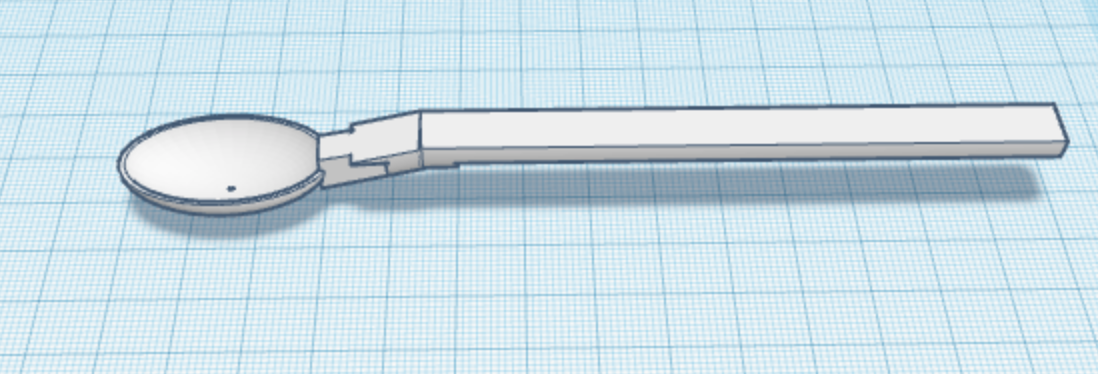
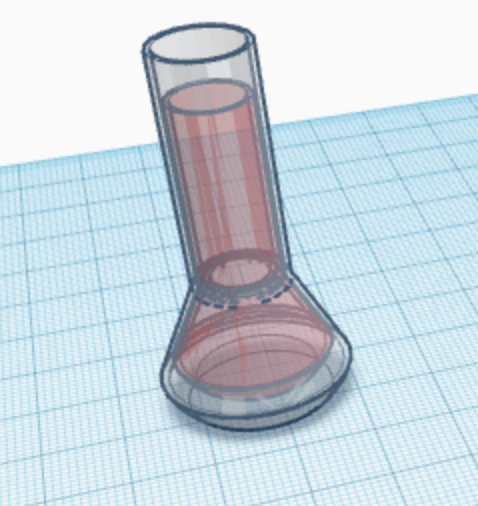
I struggled with much of this assignment after the first two tasks (the pvc pipe and egg). The spoon and the flask were probably the most frustrating to create in my opinion. Even if I was able to make an item look relatively accurate, there would usually be a part that I did not know how to do and would have to search online for help. With the bowler hat, for example, everything looked good but I could not figure out how to make the brim of the hat curve. Overall though I am much more comfortable using Tinkercad now than I was when we started it because I was consistently failing badly before.
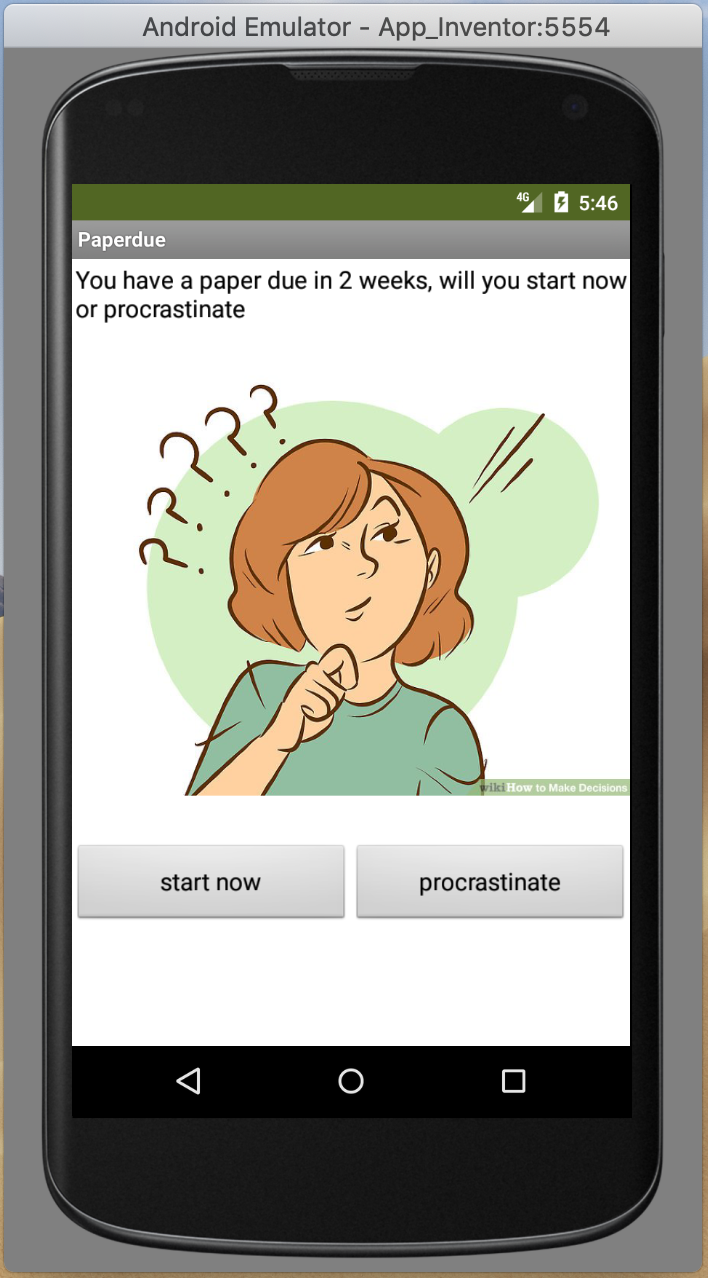
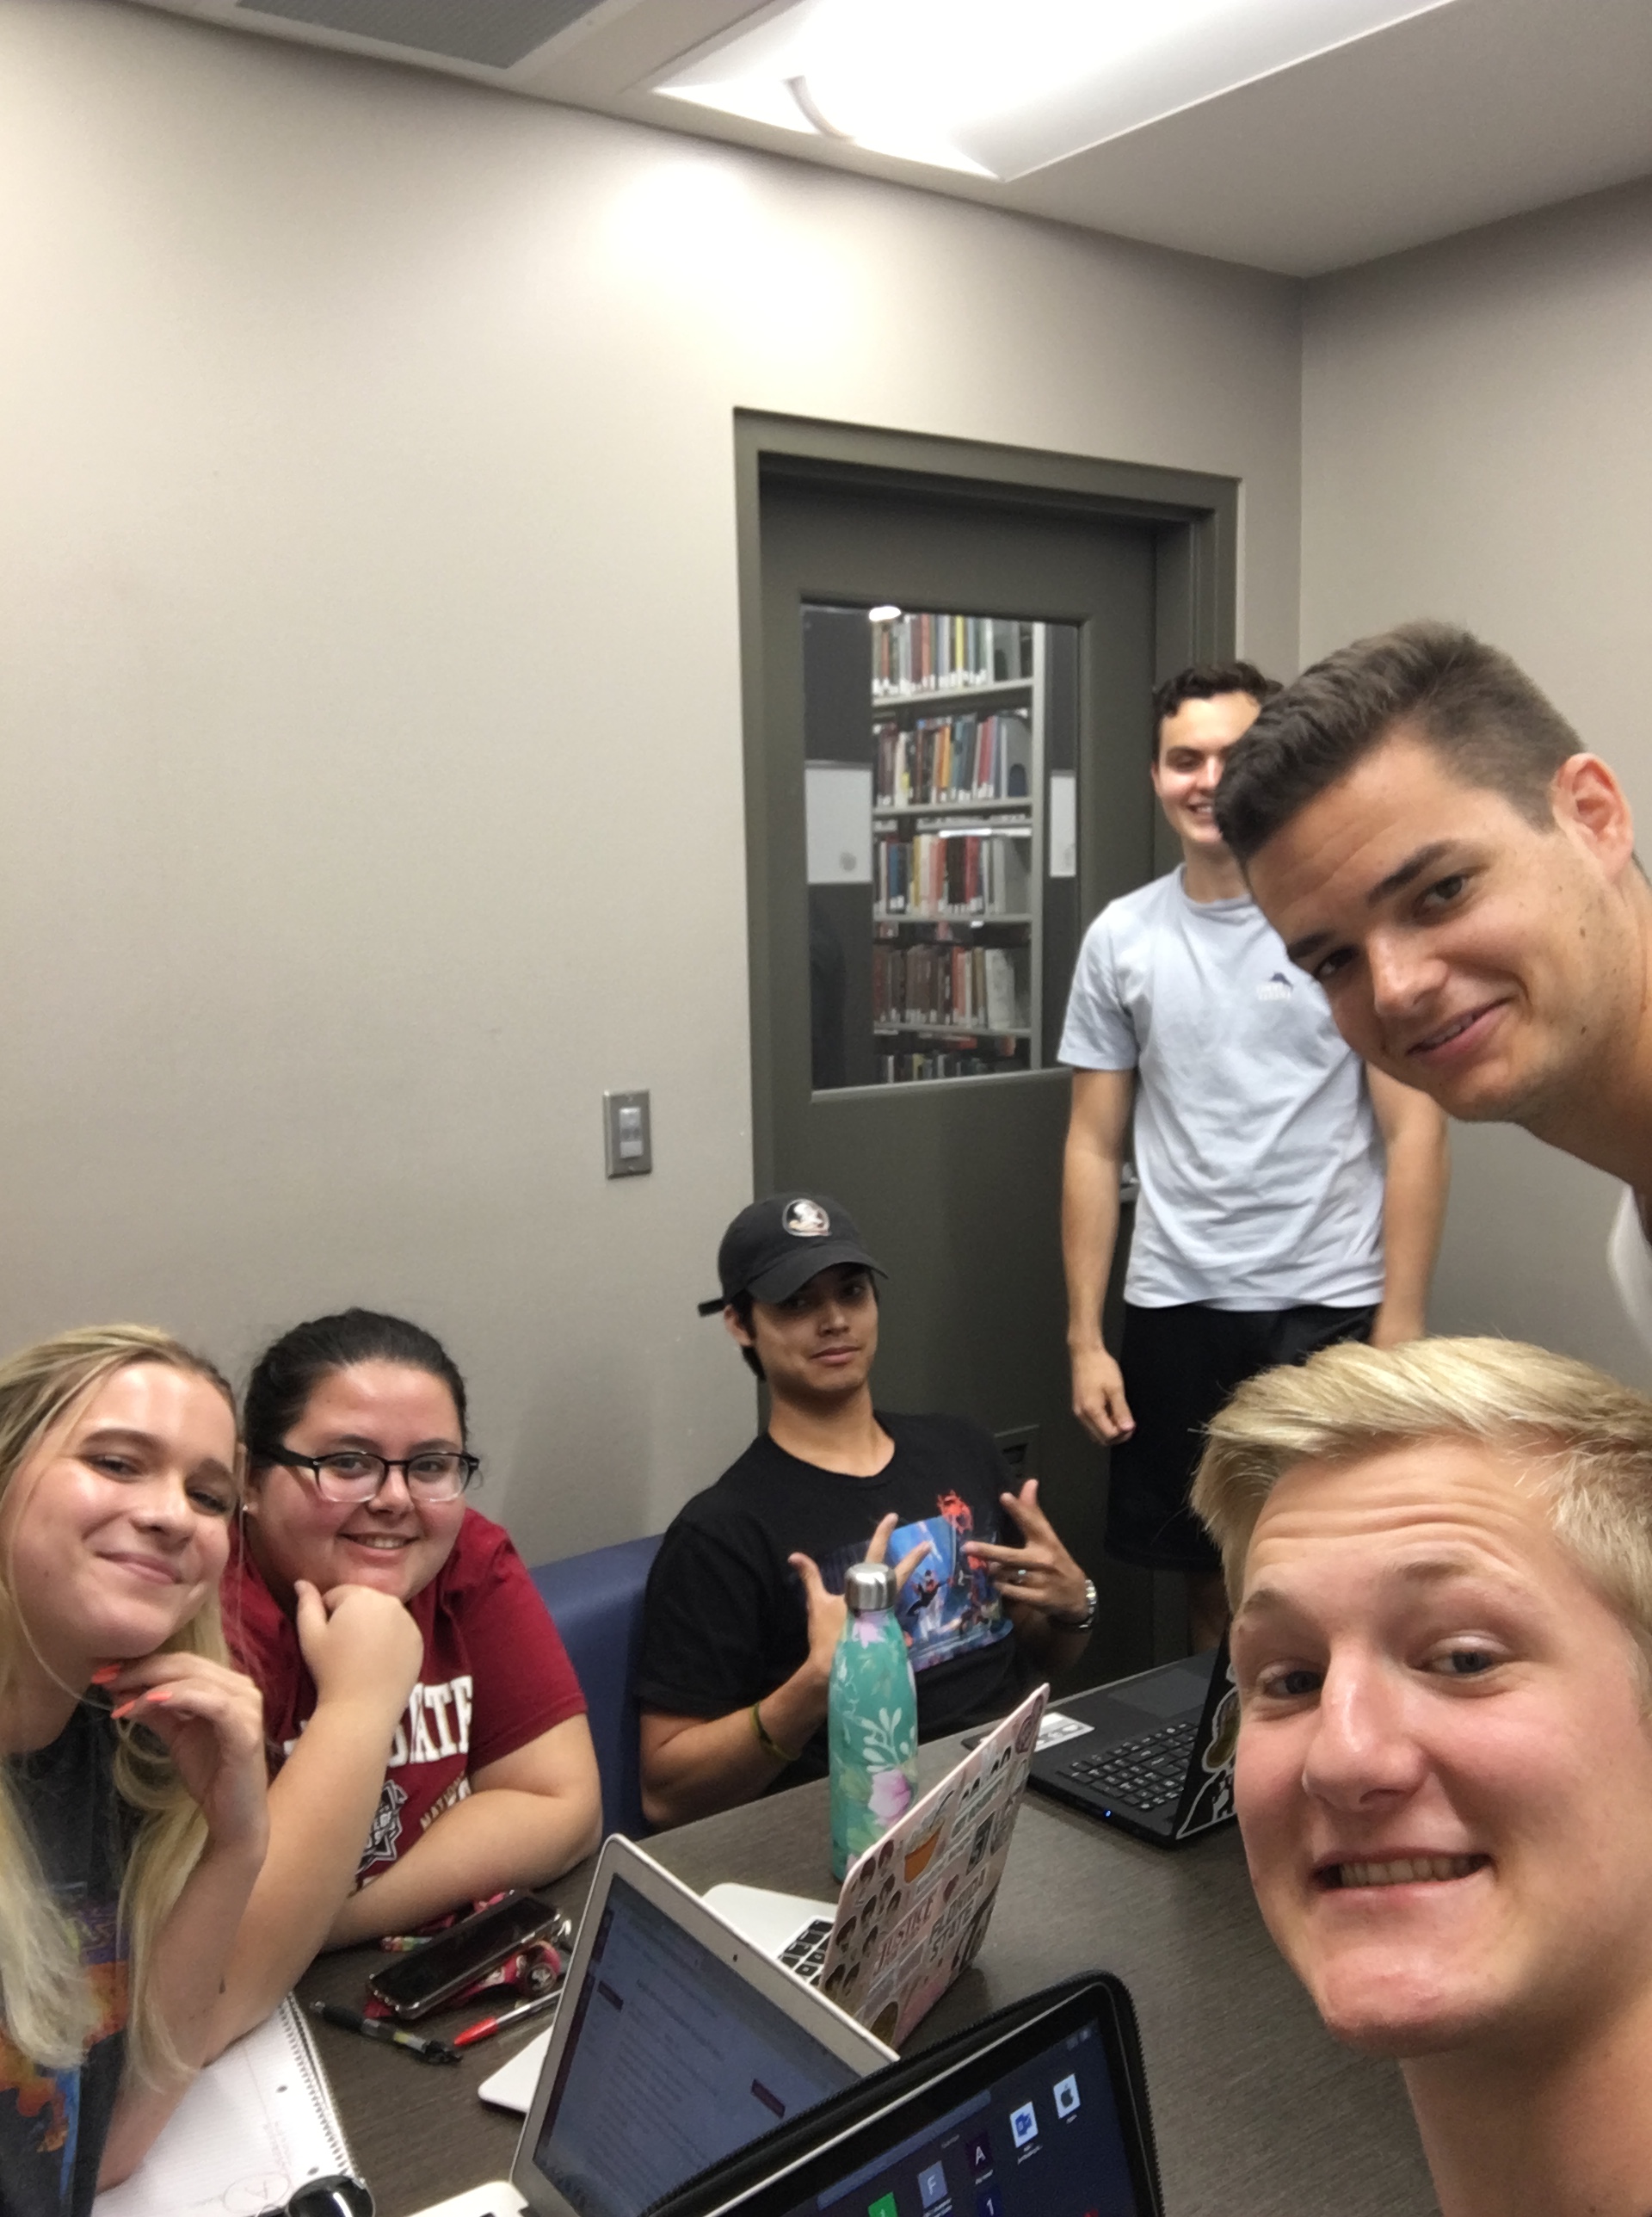
Our group (group c) decided to try to create an interactive choose your own adventure app, which would also include a mini game. To do this we presented a scenario on app inventor and included buttons with options on how to react, with each button leading to a new scenario on a new screen (screenshot below). We met on Monday and Tuesday to work on the app and were making good progress. Each group member worked on something different, with some of us working on providing the outline for the story we based the app on, and the others working on “coding” it, or doing other various tasks like changing the default icon of app inventor, or looking for solutions to any problems we faced along the way. Unfortunately, near the end of our work on Tuesday, when we were probably more than halfway done creating the app, app inventor gave us a notification that only ten screens can be used without risking losing the project, which was not enough for our original plan for the app. So now we will try to look for a way to use less screens, or we will have to change the concept of the app.
I watched some youtube videos on the basics of using App Inventor because I was struggling to get apps to run on the emulator in class, because the blocks weren’t properly connected; this is the link to the youtube playlist that I watched https://www.youtube.com/playlist?list=PL_YmErQTDFOsr3p4gzU-KILxG8UGg5xN6
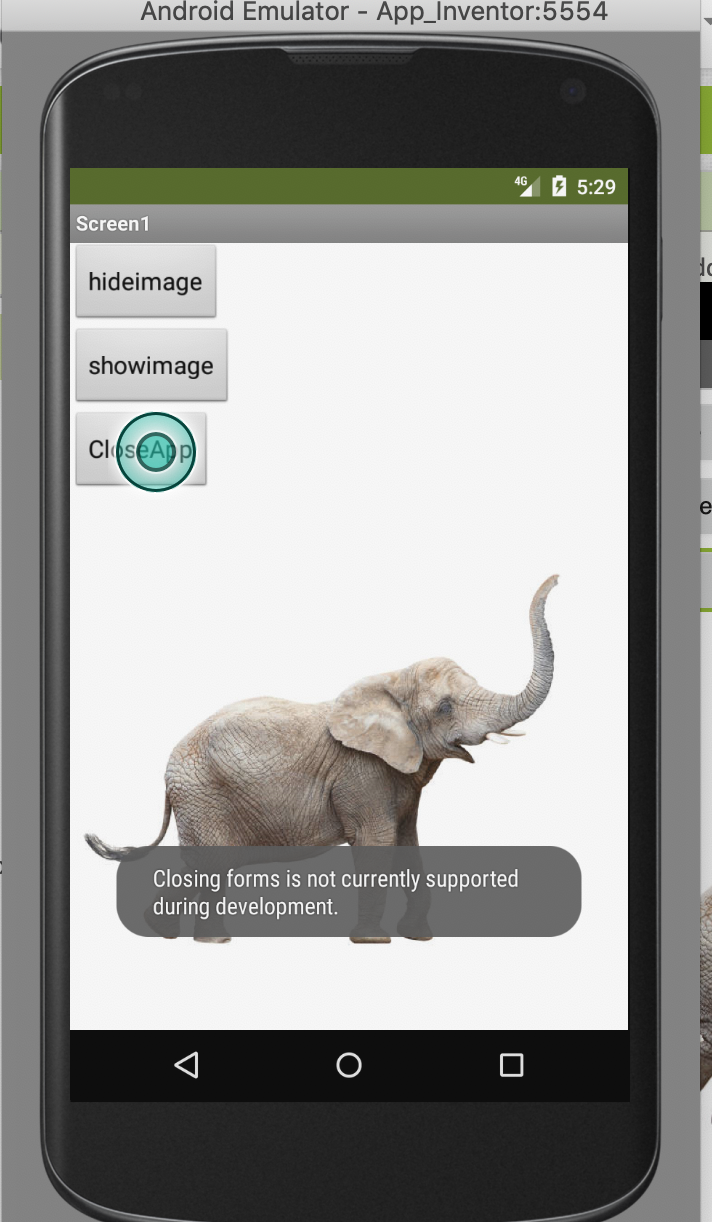
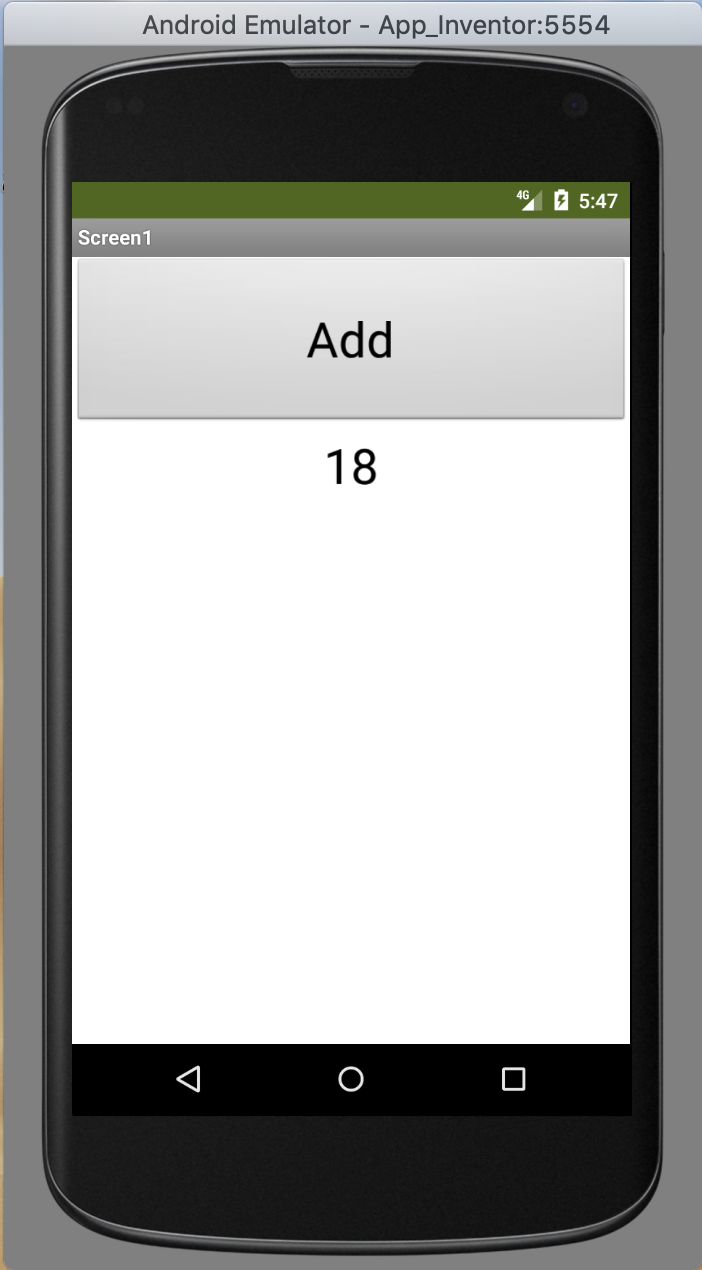
The first application that I was able to create and successfully run on the emulator had two buttons and an image. One button would make the image disappear while the other made it reappear. To add to this, I added another button which was supposed to close the running application when pressed, but the emulator did not support this (included screenshot below). Next, I made an application that would count how many times a button was pressed. Similarly, I made an application where pressing a button would generate a random number between 1 and 10 below the button. Following one of the videos from the playlist above, I also made an application that would generate random colors. Creating this took a bit more time than the others, because it required a lot more blocks, but the video was helpful in explaining the process. Overall I am already feeling more comfortable using this website, and can see it is pretty simple and it just requires some practice.